Hi there!
Our main project idea changed many times while we were working. One of our last few ideas was to make a carnival game similar to "whack-a-mole", a game where the player clobbers a mole that pops out at him/her. In this case, animals with light sensors would spring up. If you passed your hand over them quickly enough, they would be "hit" and you would score points. Deciding that it would be very difficult to make a robust enough structure, we then scaled back our ideas, settling on a jack-in-the-box instead. However, we thought that idea was too simple, and in the end, we chose to make a gameboard.
The gameboard would consist of these pieces:
Day 1
We attempted
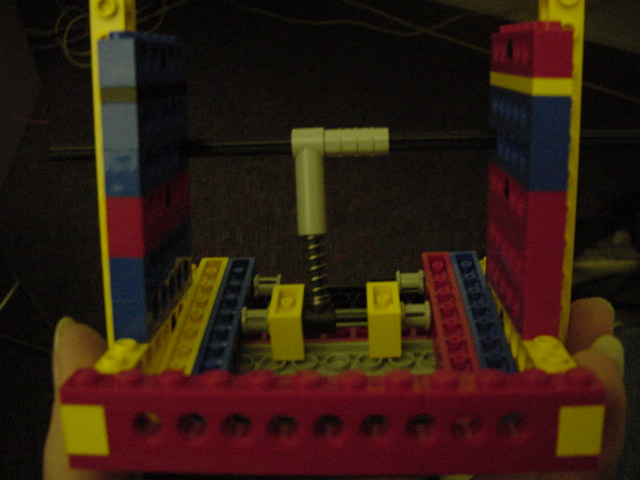
to put our plan into action by creating "point plates" which would
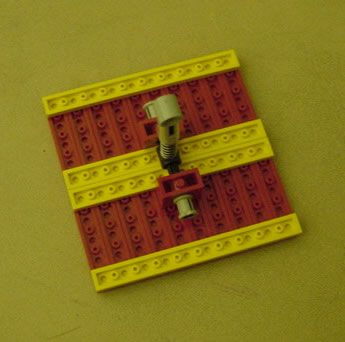
be secured by a wall of legos. This is a sample of the point plate:
The front of the point plate is created from 1x 8 plates. Connected to the center of this point plate is a spring secured by legos and axles.
This plate
is meant to fit in a cage we built into the wall, as seen here:
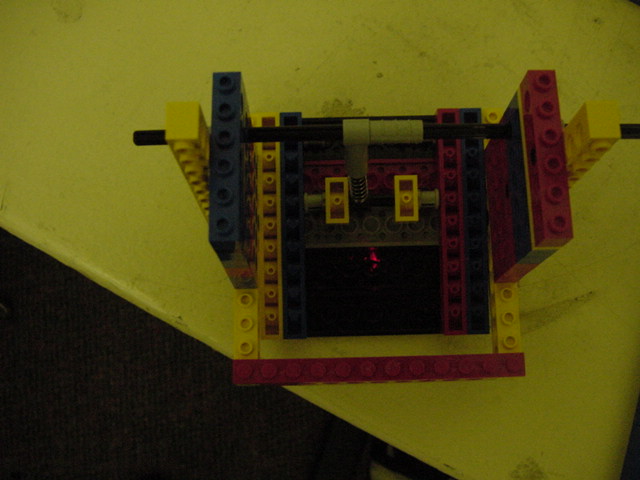
Next, we
built a wall of legos around these point plates. However, we discovered that
if the point plates were hit, they would flip, and slip behind the wall. They
would be trapped there, and would not return to their original position. This
is what the project looked like when we were having this problem:
We attempted to remedy this problem in two ways:
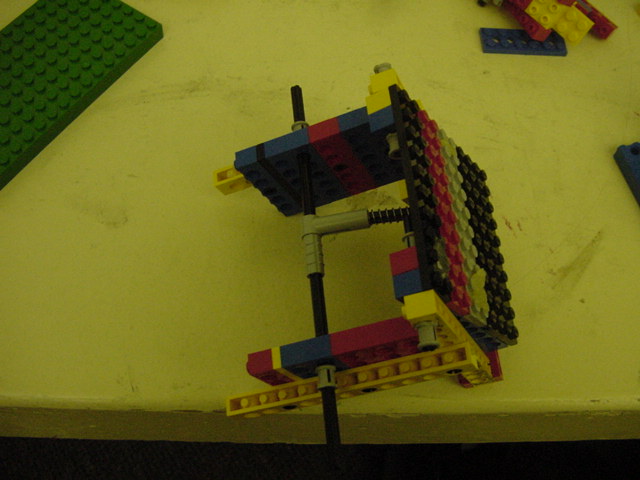
First, we
built a "tunnel" around both sides of the point plate.
Unfortunately the plate, when moved back, got stuck because the sides of the face plate scraped against the tunnel.
Next, we
tried to brace both sides of the face plate like this:
This did not work, either. The face plate, when pushed in, would be trapped in the space between the wall and the brace.
Another issue we broached today was what we wanted to occur after each point was scored. Our ideas included signs that read "good job" or "nice shot", a pinwheel that spins, a lego man that approaches the audience on a bicycle, a series of flashing lights, and a song. One idea we are relatively sure about, is that when someone wins the game, a car will deliver to them a piece of candy.
Day 2
We continued
working on our project. Today, we experimented with creating a new type of face
plate. Robbie suggested that we hinge one of the sides of the point plate and
then use the spring to prevent the face plate from snapping too far back. We
tried a number of iterations, and developed this new plate design:
We then modified the lego wall slightly, and successfully built one point plate into the wall. We decided to reduce the number of point plates from six to three in order to make it easier to maintain the robustness of the structure.
The propeller spun too quickly, making it impossible for us to control placement of the signs. Instead, we decided the game board should blow bubbles.
Day 3
We finished
integrating the three point plates into the wall, and reinforced the wall using
vertical bracing with lego beams:
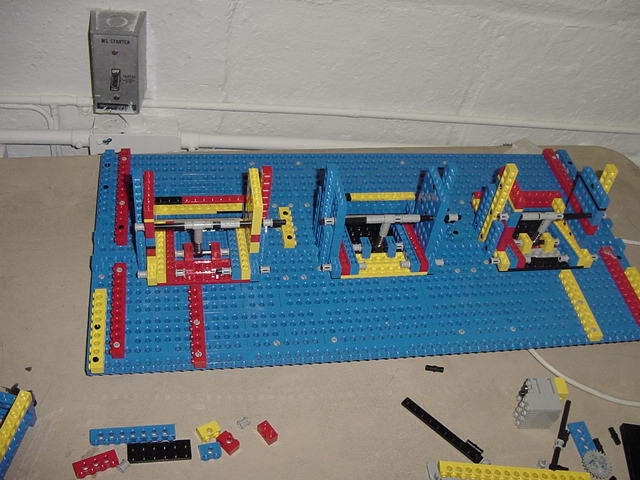
Unfortunately, the wall still buckles at certain points. We plan on using cardboard to reinforce the structure, both in the front, and to provide extra support to the point plates in the back.
Once again, we have changed our design ideas. After experimenting with the propeller, we decided that it would be difficult to make it spin fast enough to blow bubbles. This idea is now on the back burner. As a replacement, the original candy-delivery car will be accompanied by two other cars, making one for each point square. One car would come out whenever someone hit a point square with a hackysack. (ie. if the point square A was hit, car A would come out; if point square B was jolted, car B would come out). The cars will have a mechanism to rotate the congratulatory signs as the vehicles approach the players.
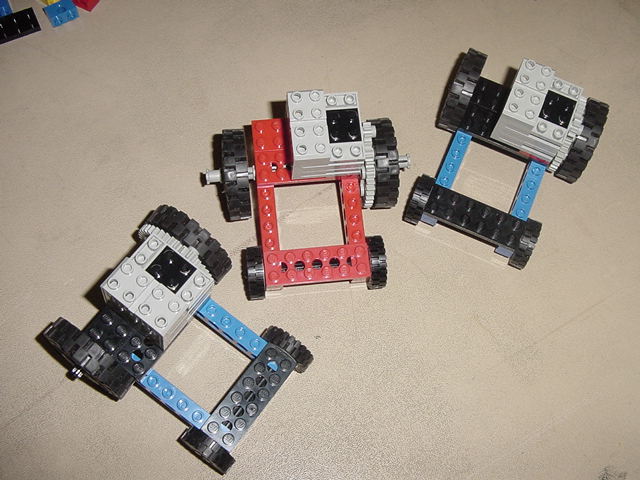
Here are
the cars we built:
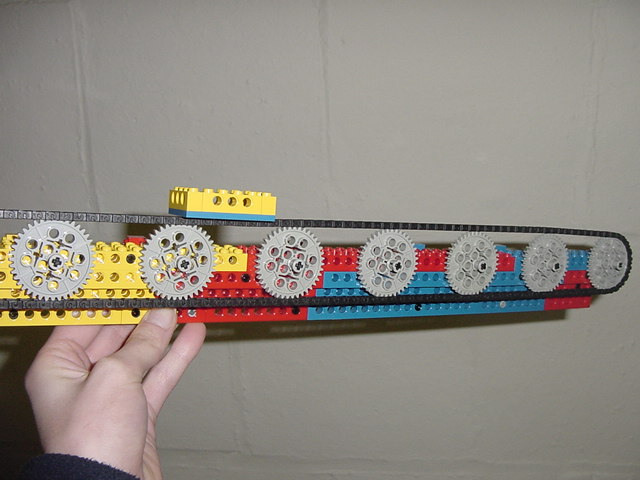
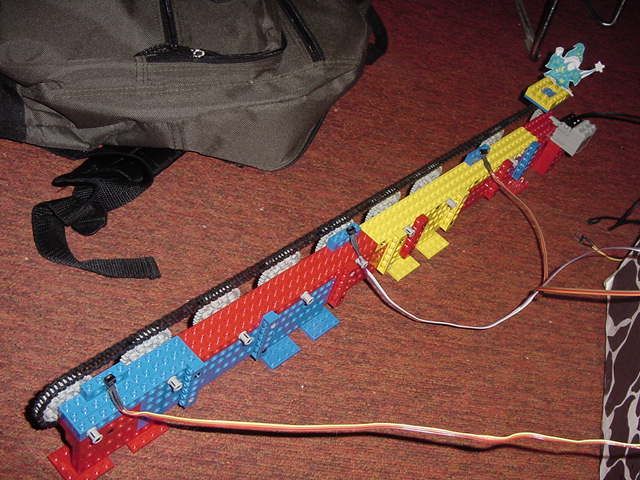
We also
made a score keeper. A small box, containing candy, will be transported by a
geartrain at the top of the game board. When the point square is hit, a switch
behind the target will be triggered. The depressed switch will trigger a motor
which will start the geartrain. Where the box and geartrain stop will indicate
the player's score. Although we have written the procedure for the score keeper,
we have yet to determine for how long the geartrain motor must be on.
We have already scaled back our design considerably. When we started the project, we were planning on using either crickets and handyboards together, or two handyboards. However, we have now reduced the number of needed motors to only four. If we complete the current design, we will only need to use one handyboard.
In addition to the legos, we will need
Day 4
Today we experimented a great deal with the score keeper/candy dispenser. We began writing the program for it, and figured out how to use reflectance sensors to cause the candy to move forward a certain amount each time a target is hit. Three hits will bring candy to the successful contestant.
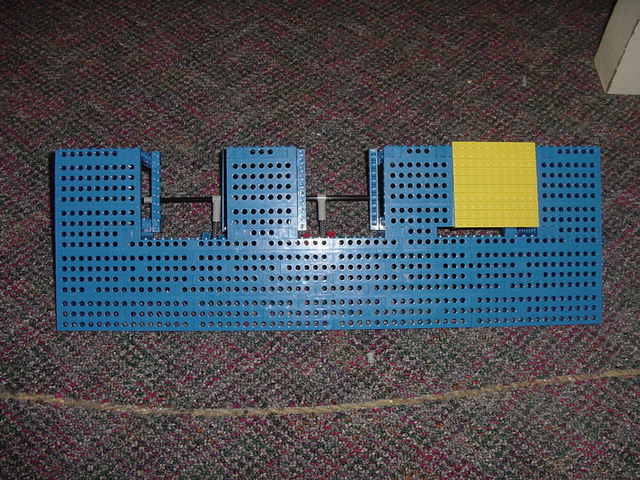
We also
devoted much time to reinforcing the board. Here's a picture of the wall with
cardboard covering the back:

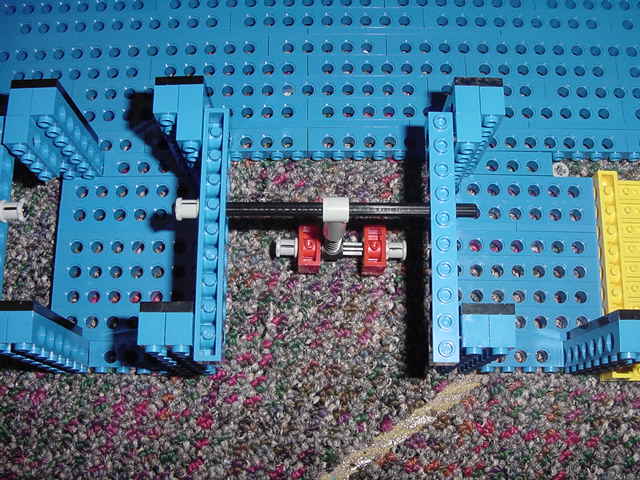
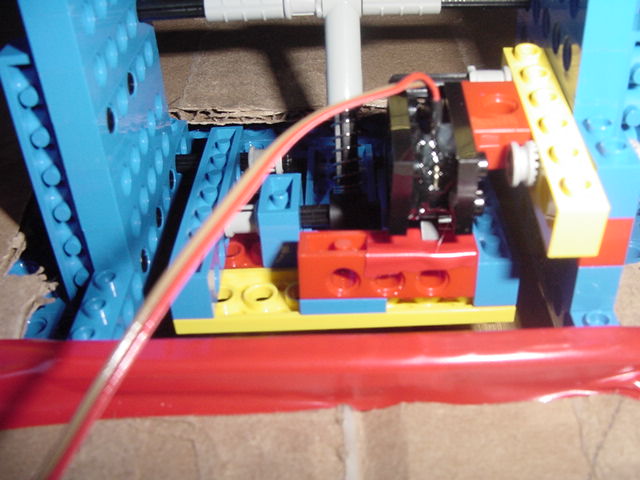
We inserted
the switches as in the following photo. The structure we devised is very sturdy
and can withstand forceful impact without breaking. This switch mechanism is
one of the most important parts to keep intact:
We had to make the targets smaller as well, since the larger ones would get stuck when it caught on the top edge of the board.
Still to do:
1. Build
signs for the cars
2. Build colorful targets
3. Build bubble machine
4. Write working programs
Day 5 / Day 6
Today (day 5) we compiled all the parts of our project into a functioning game!
In order
to accomplish this, we undertook a number of seemingly minor, yet important
tasks. First, we had to further brace our lego wall. We took dimensions, and
discussed different possible cardboard support structures. We decided to build
a "garage" for the cars, and rest the game board on top. Also, we
will build a cardboard bracing for behind the wall. Second, we worked out all
the kinks in the score keeper. We then hot-glued the reflectance sensors to
the score keeper, making sure they were positioned correctly to determine when
the candy box passed over them.
With this complete, we were able to finalize the code for the game. <Link the word "code" to the code page>
After downloading the program into our handyboard, we assembled the game by plugging sensors, switches, and motors into their respective ports.
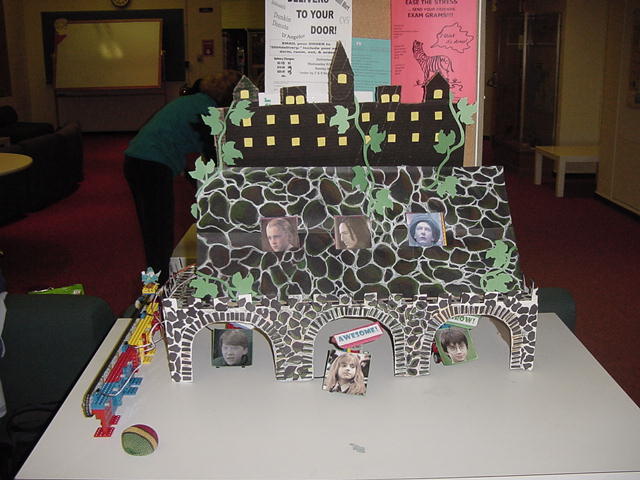
With the pure mechanics and programming complete, we were free to beautify the game with our artistic talents. After making signs for the cars, we settled on a Harry Potter theme; the targets sporting drawings of "bad guys" in the tale, and the sign-wielding cars driven by the story's protagonists. Following this theme, we decided to make the board into a castle.
Our efforts paid off as we complete our game!