Lab: CSS
Goals
- Practice writing basic CSS rules
- Practice using ids and classes
- Practice with relative addressing
- Validating CSS code
Overview
In this lab you will practice altering the default style of HTML elements, using Cascading Style Sheets (CSS). In particular, we will start with a couple of html files, which contain no styling at all, and will use css rules to change their appearance.
The following resources should be helpful:
We recommend that you open the links above in separate Tabs in your browser, so you have them easily available for reference.
Setup
Connect to the CS server and download the folder labs/lab3 to your Desktop. Rename that folder
to include your and your partner's user names. (for example: lab3_sk1_ps23)
From the lab3 folder on your Desktop, open the file wellesley.html in your
browser (we suggest Chrome).
This file is your starting point for this lab; you'll notice it's a simple, un-styled HTML page.
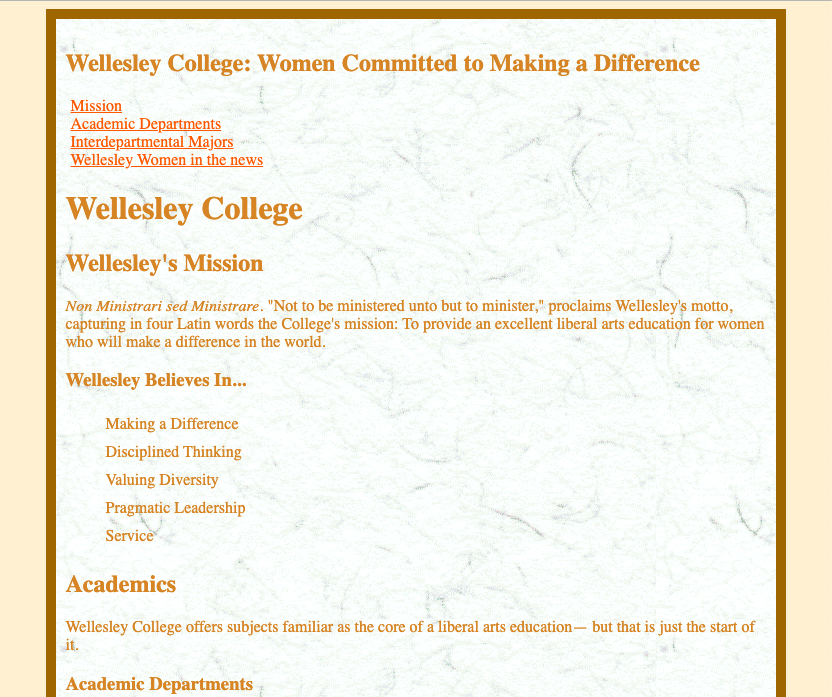
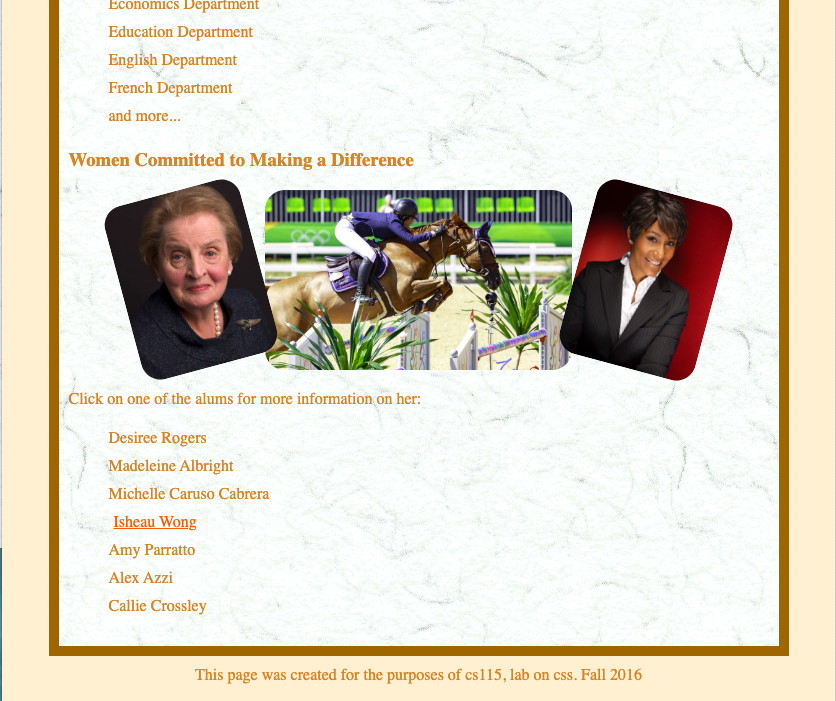
Your task is to add style to this page (and as time permits, to the second htlm page in the downloaded folder). The end result you are aiming for will look something like the screenshot below. Feel free to choose your own colors, fonts, sizes etc. Note that the content of the shown page is the exact same as the one you just downloaded, the only difference is the styling.
and the bottom part of the page:
Attach a stylesheet
We will do all of our styling using an external style sheet (i.e., no in-line stying, no document-level styling either). So, your first step would be to create a styling sheet (.css file) and then link it to your html one.
Start with a new blank file in your text editor and add this code:
body {
    background-color:orange;
}
Save this file as style.css in the same folder and as a sibling to the html you intend to style (i.e., wellesley.html).
Then, at the top of the wellesley.html file, in the <head> of the document, link to this stylesheet:
<link href='xxx' rel='stylesheet'>What should be the value of the href attribute in the link tag above?
Reload the wellesley.html page in the browser. Is the background orange?
Excellent!
You've successfully attached an external stylesheet.
You can now remove the background-color:orange declaration in style.css
(it was just for testing to confirm the connection worked.)
Get styling
With your files all set up, start adding CSS code to match the styled page shown above.
We will start at the outside and work our way in.
First, change the background color to something a little more interesting than the default white. (Can you figure out names of colors available to you?)
body {
    background-color: papayawhip;
    color: peru;
}
Make sure to test your code by reloading your web page after every small change you make to the css file!`
Inside the body of the web page, appears to be one “box” that contains everything else; this box has a border, and an image background.
If you examine the HTML, you'll notice this box corresponds to a <div> with the id wrapper,
so that's what you'll want to style next:
#wrapper {

}
Add some rules to style the #wrapper element. Look at the w3schools site to see
some of the options available to you. Among other rules, try this:
#wrapper {
    margin: auto;
}
Give the #wrapper element a border, at least temporarily. It will help as you develop your styling code. (At the end, fell free to remove that border, if that's what you want).
-
Set the background image to
simpleBg.jpgin theimagesfolder:background-image: url("XXXXXXXXX"); - Give the wrapper box a
paddingof a few pixels, so its contents have a bit of breathing space from the border itself.
While we're looking at the big picture of the page structure, you should also style the footer:
- Give it some padding
- Center its text using
text-align: center.
For any of the above settings, remember to refer to the CSS Reference or the notes linked from the top of this doc.
Dig deeper
With your outer elements (body, #wrapper and footer) styled, you can dig deeper and
attempt to style some of the other elements:
- h1
- Font is
Georgia - Text is larger and italic
- Text is centered
- Font is
h1 {
    font-size: 40pt;
    font-style: italic;
    font-family: 'Georgia',sans-serif;
    text-align: center;
}-
h2
- very similarly styled as h1. Experiment with the font size.
- Unordered list of links
- There are no bullets on the list items.
- Give some more vertical space between the list's items
- Text is aligned to the left
  ul {
    list-style-type: none; /* Remove the bullet point */
    line-height: 180%;
}-
Images
- They have a rounded edge.
border-radius: 20px; /*round the corners*/- The three images, towards the bottom of the page, are centered in their container (i.e. the wrapper)
- Two of them (the left and right) are tilted - skip this for now.
Notice in the wellesley.html document, how the three images have been included in a paragraph, that belongs to the class
centerP. We will center paragraphs in the centerP class, like this:.centerP { text-align: center; }When working on your own code, if you have images, or other in-line elements you want to center, you can define a class like this:
.centered {
display: block;
margin: auto;
}
Validate
Run your CSS code through the CSS Validator to check for any problems.