Visual Studio Code
This reading explains why we are using Visual Studio Code (VSCode) and how to install it.
Concepts
In this course, we will be developing code to run on a server, not our local machine, whether that local machine is our personal laptop (or desktop) or a college-provided lab computer. By "developing" code, I mean typing coding into an editor, saving it, running it, testing it, and looping back to revise it. The running/testing steps typically have to run on the server, which has the database server, web server, and other infrastructure that we need.
Generally, developing means that we either (1) ssh to the remote server and use an editor that exists on the server, such as Emacs, Vi, Vim, Nano or many other editors, or (2) we edit on our local machine (using Emacs, Atom, Sublime, or many other editors) and copy files to the server for running and testing.
A nice combination is Visual Studio Code, which runs on our local computer, but which has plug-ins so that it can edit files on a remote server, automatically copying back/forth as needed. A side-effect of this is that the files live on the remote server, which can then be easily backed-up, shared, accessed by others, and so forth.
Visual Studio Code is a free editor application (similar to Atom) that works for all three major operating systems (Windows, Mac, Linux) and has the ability to edit remote files; that is, to edit files on a machine that you would have to SSH to. Very cool!
Installation on a Mac
You will want to install VSCode on your personal machine. Contact me if you have any trouble.
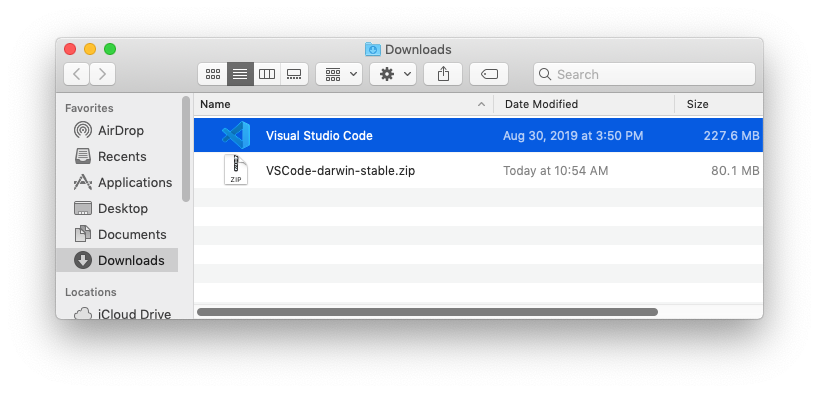
- Download the VSCode application (for the Mac) from the homepage or download page.
- It may automatically unzip. If not, unzip by double-clicking the icon for the .zip file in the Downloads folder.
- You'll see something like this:
- Drag it to the Applications folder
- Navigate to the Applications folder
- Find the Visual Studio Code Application (sorting by name will put it near the bottom)
- Double-click the application.
- Approve the opening of the application by clicking "open"
- The application will launch and then automatically open some documentation windows.
- Click the extensions icon on the left hand side.
- Search for "remote"
- Click on "Remote Development". That will put info about that extension in the main window.
- In the main window, click on the blue "install" button.
- I suggest right-clicking on the icon in the Dock and clicking "Options / Keep in Dock".
- Quit VSCode
If your personal machine is Windows or Linux, there are instructions at the VSCode site.
SSH Usage
After the installation steps above, and after launching the VSCode application, you can use it to edit remote files:
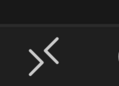
- In the lower left of the VSCode window,
you'll see a black and white icon that looks like this:
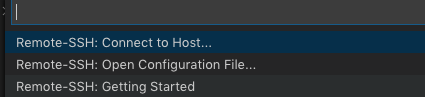
- Click on the icon (hover says: "open a remote window"). At the top of VSCode, you'll see a menu like this: VSCode remote menu
- Choose "Remote-SSH: Connect to Host" and connect
to
youraccount@cs.wellesley.edu. Looks like this: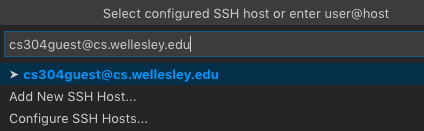
- It'll ask for your password in the next step.
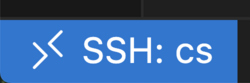
- If you succeed, the lower left of the VSCode window will show the remote
connection, like this:
Navigation
Editing files on the remote machine is pretty straightforward:
- Click on the Explorer Icon (or command-shift-e)
- Choose "Open Folder" under connected SSH
- Choose a folder on your remote machine, such as
cs204 - Open a file. Edit it. Save it.
SSH Terminal
To run commands on the remote machine, you'll need a terminal:
- On the Terminal menu, choose "New Terminal". This opens a remote (SSH) terminal!
- Run your modified file!
Exit
- logout from your terminal window, and
- click on the remote session icon and choose "Close remote connection"
- quit VSCode
SSH Keys
Later, we'll talk about SSH keys, to avoid having to constantly re-authenticate.