|
This file will show you in a few steps how to use the QTVR software that is located in the old Mac G4 computer in Knapp. The computer is on the left of the front desk, behind the divider. Ask someone to direct you there, you may need to reserve the use of the computer in advance.
 |
 |
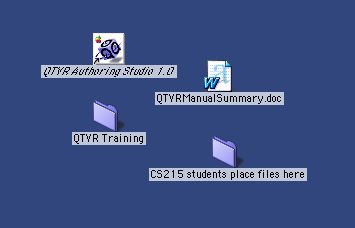
| Locate the alias of the program on the Desktop: QTVR Authoring Studio 1.0 and double-click to start |
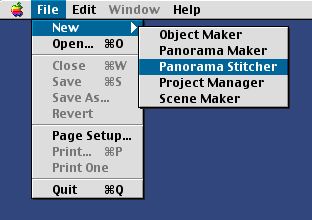
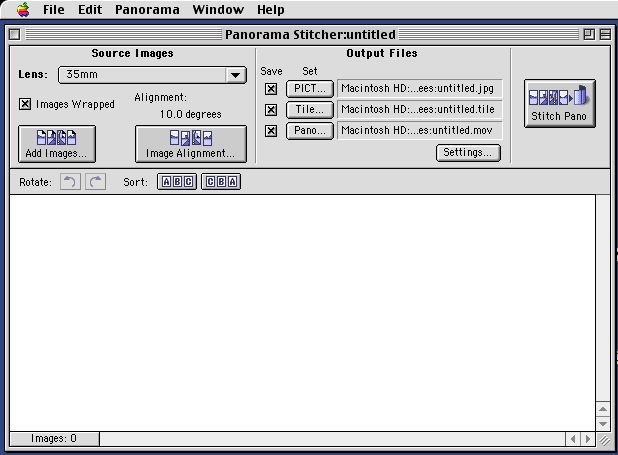
When it loads, create a new Panorama Stitcher from the New menu. |
| |
|
 |
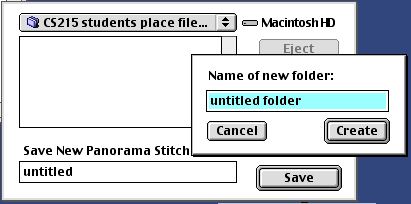 |
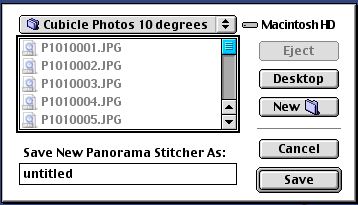
| The dialog box will open asking you where to save your panorama in a random place - the location that the last user used. |
From the pull-down menu navigate to the Desktop where you can create a new folder with a meaningful name (not "untitled folder" that I used above as an example). Create and then Save using a meaningful name (your name is fine). |
| |
|
 |
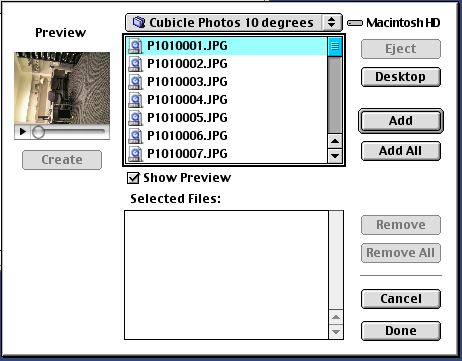 |
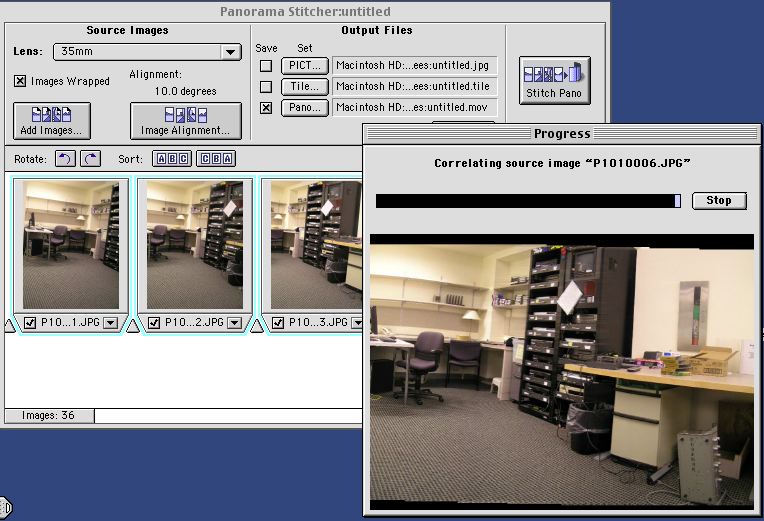
| The program will then open a window to help you make your selections. First click on Add Images to select which images you want to include in your panorama |
Navigate to your image folder and Add them or Add All, but make sure you have not included images they should not be included or the images have an unsorted numbered name. |
| |
|
 |
 |
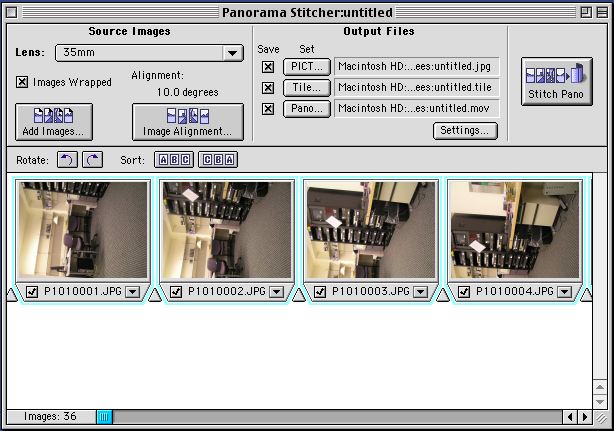
| Once the images have been added they appear in the program window. Note that they are all sideways, since this is how you shoot them. Click on the appropriate arrow button to turn them in the right direction. |
While you are here take a quick look to verify that the images are in the right order and that no extra image is included. If they are not you can rearrange them. If you were careful when you took the pictures with the tripod, you should be okay. |
| |
|
 |
 |
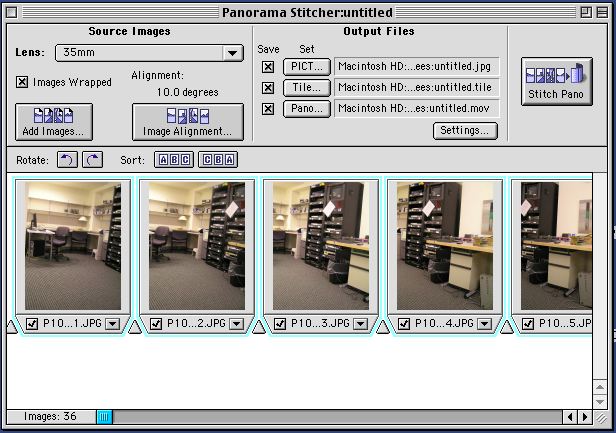
| Before clicking the Stitch Pano button, make sure you have the right alignment. If you have 36 pictures, apparently you need to select 10 degrees alignment. If you have 12 pictures, you had used 30 degrees alignment. With 18 images you need 20 degrees. Make sure you have selected the right alignment by clicking the Image Alignment button first. Also, if you only need the panorame, deselect the PICT and tile checkboxes. |
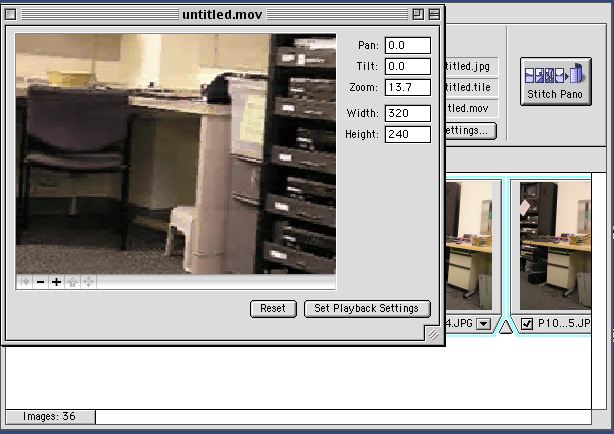
The program will start stitching the images for a few minutes. How long it will work depends on the resolution of the pictures you took. Try to stay below 5 megapixels, or you can spend several hours looking the program working. It is fun to watch the phases it goes through. For more information, there is a manual on the desk next to the computer. At the end, a window will appear with your panorama. Make sure it works correctly before you quit. |
| |
|
 |
|
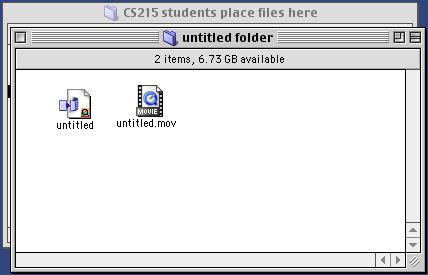
| At the end you should have these two files created. The one ending in .mov is the panorama. The other is the project file. Put them on your flash drive and you are ready to go. |
|
| |
|
|