A Meteor App with Google accounts
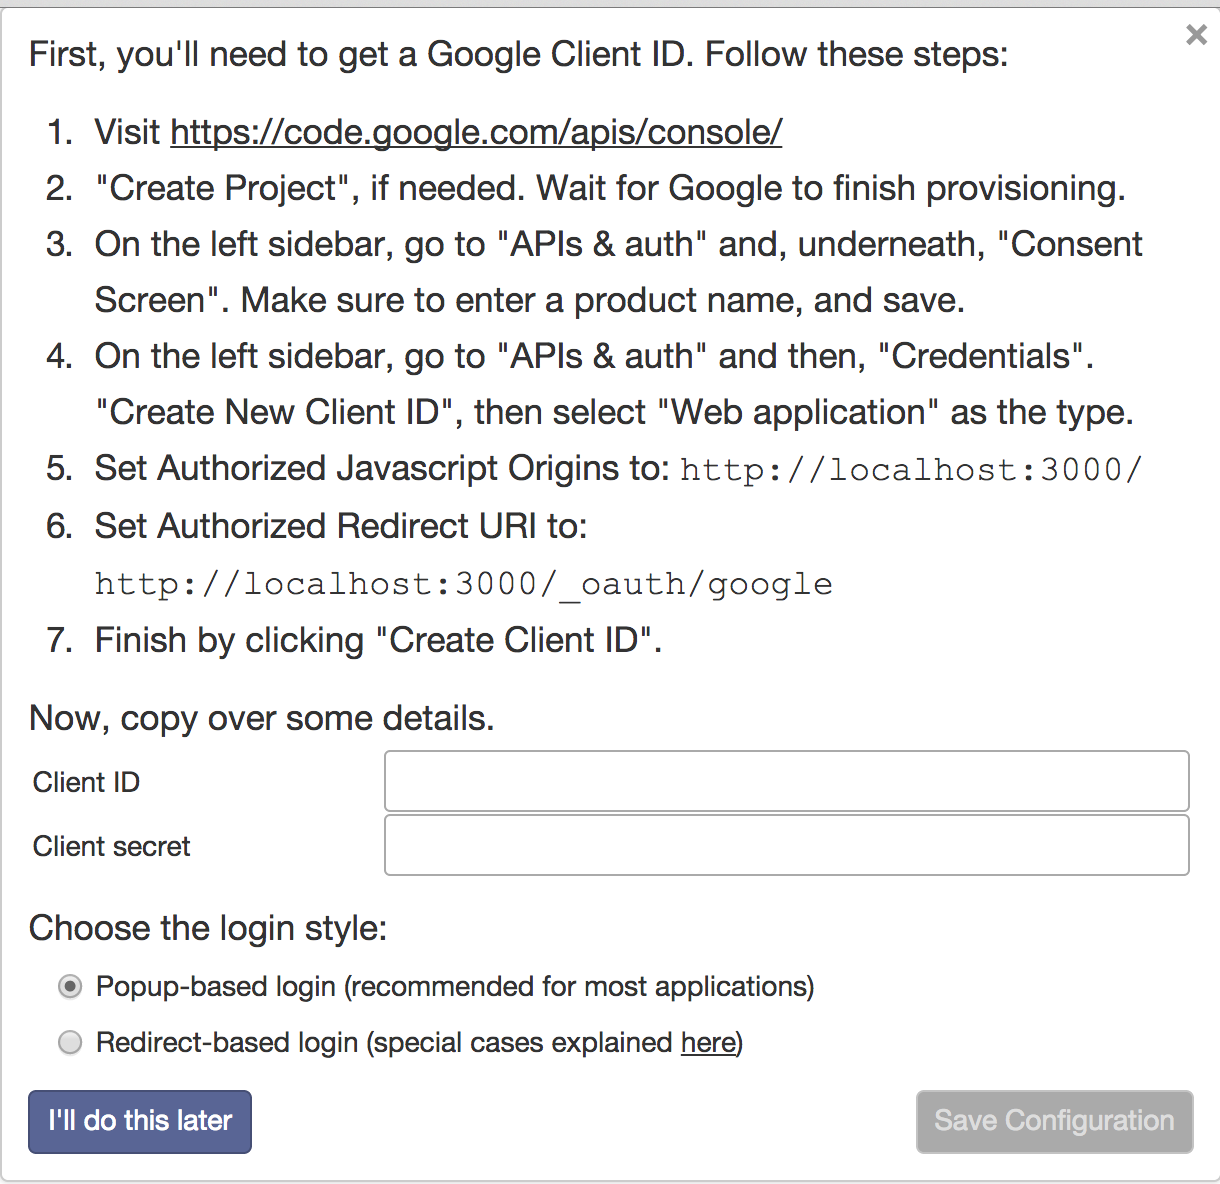
Setting up Google Accounts
- Start by creating a new meteor app (as you learned in AM6). Then, inside the folder of the app add the following packages:
meteor add accounts-google
meteor add accounts-ui
{{> loginButtons}}, which will show the interface elements for the login.
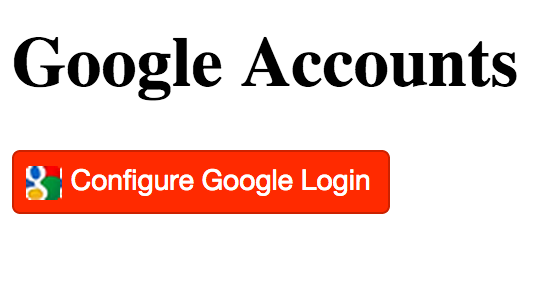
At this poing the code in the HTML page can look somewhat like this:
<body>
  <h1>Google Accounts

  {{> loginButtons}}

</body>

Doing more with the Google accounts
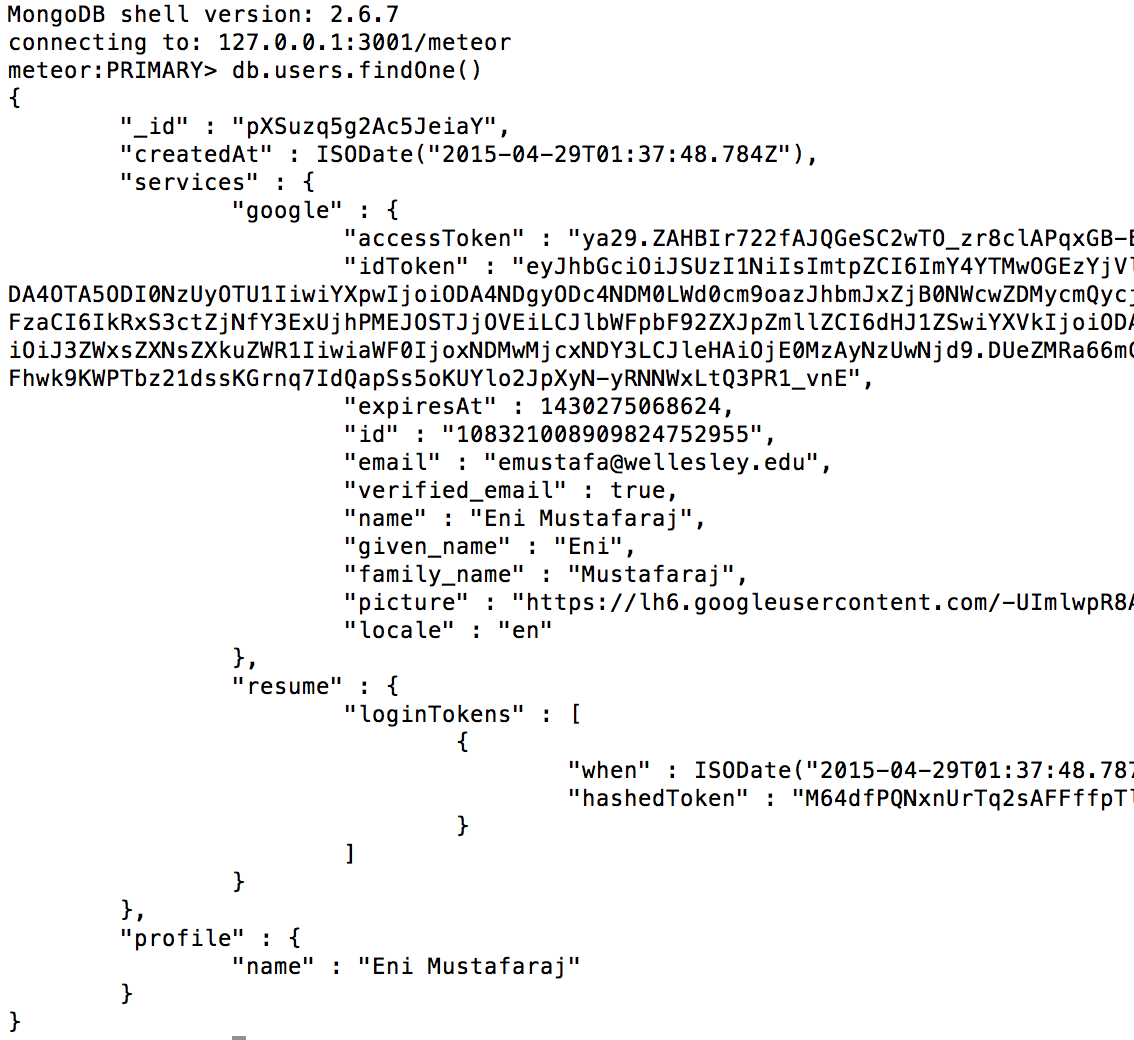
If we inspect what is saved in the MongoDB database, there will be a
users collection which contains documents with multiple features
for every user, for example, the whole name, their profile image, email address, etc.
Now that we are aware of what data about a user we're retrieving and storing for a user logging in with their Google account, we can think of ways of displaying (or somehow using) that information.
There are different ways in which we can refer to the logged-in user.
- In the HTML code, using the Spacebars syntax,
{{currentUser}}. - In the JS code, by invoking the
Meteor.user()method.
Invoking the method in the console, shows that this method does the same as the
method db.users.findOne() that was shown above in the Mongo console (server side). Now
that we know how to access the information about the current user, we can
write JS code to access the nested fields (through the dot notation), and use Meteor method
helpers to assign the values to Spacebars variables. The following example demonstrates this
technique.
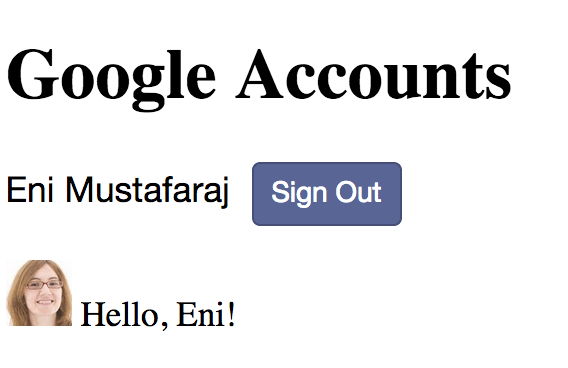
{{#if currentUser}}
  <p><img src="{{profileURL}}" width=30>
        Hello, {{firstName}}!</p>
{{/if}}
Template.body.helpers({
   firstName: function(){
    var user = Meteor.user();
    if (user) {
      return user.services.google.given_name;
    }
   },

   profileURL: function() {
    var user = Meteor.user();
    if (user) {
      return user.services.google.picture;
    }
 }
});
Referring to all users
Given that packages such as accounts-google (or accounts-password)
create by default the collection users in MongoDB, we
can refer to it directly in our code as Meteor.users.
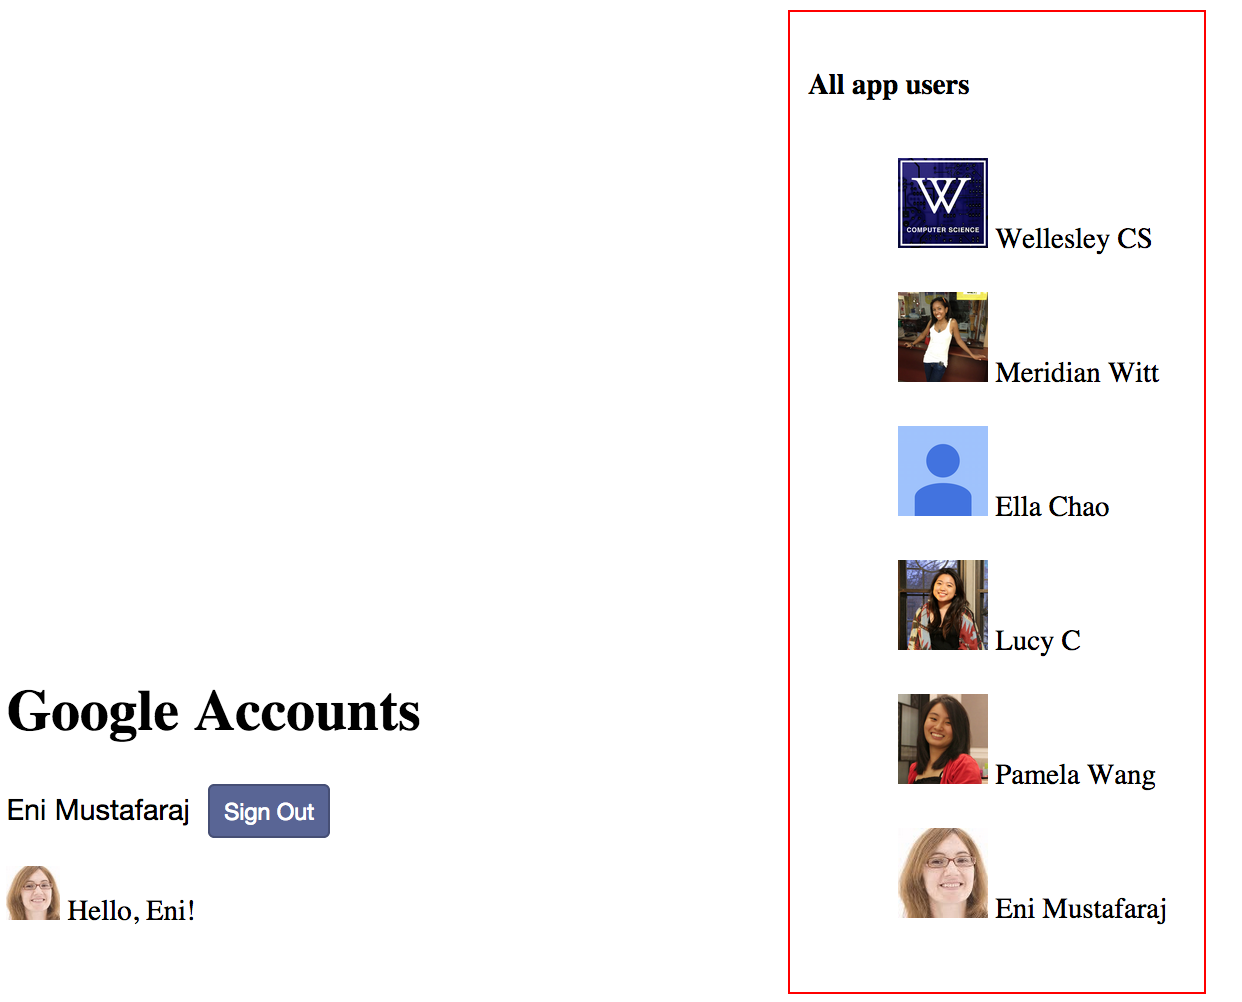
If we have autopublish on, we
can write code on the client side to perform certain operations
,e.g., showing the photos and names of all users who have used the app.
<template name="allUsers">
<div id="allUsers">
  <h4>All app users</h4>
  <ul>
  {{#each users}}
    <li><img src="{{photoURL}}" width=50> <span>{{username}}</span></li>
  {{/each}}

  </ul>
</div>
</template>
Template.allUsers.helpers({

    users: function(){
      return Meteor.users.find({}, {"services.google.name": 1,
                             "services.google.picture": 1,
                             "services.google.email" : 1});
    },

    username: function(){
      return this.services.google.name;
    },

    photoURL: function(){
      return this.services.google.picture;
    }
})
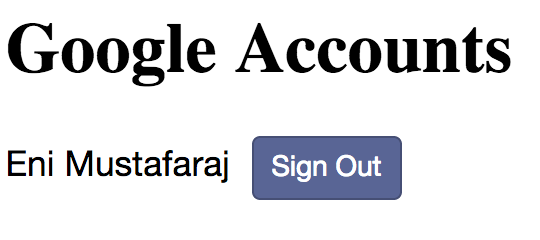
Adding the above code to the one we originally had, will make our app look like below:
Deploying
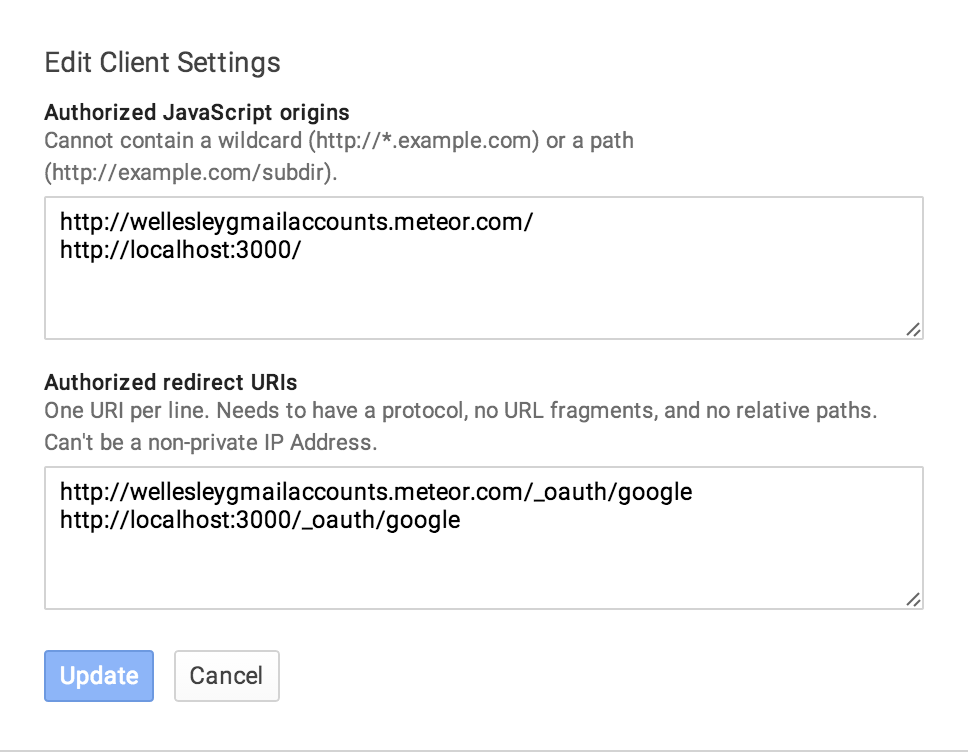
When you deploy the app on meteor.com, you will have to
go through the same process of configuring Google Login. Simply go to the
Google console and add information with the web URL of your app, for example,
this is the app in these notes:
Links
You can find the live instance on: http://wellesleygmailaccounts.meteor.com/.
The code is in this GitHub repo: https://github.com/enimust/wellesleygmailaccounts.