Using Git/GitHub with a Meteor Project
Installing GitHub for Mac
Step 1: Download file from the website and install.
Step 2: Perform setup by providing your username and password that you used to create the GitHub account.
Step 3: Provide config information about yourself (a name and an email). These will always be part of your commits in projects.
Step 4: Install command line utilities.
Create a Meteor app
We will first create a meteor app on our machine, make it a Git repo and then publish it on GitHub for other people to clone it.
When it comes to the team project, only one of you needs to do the steps below. Later, we'll show how to clone a repo created by someone else.
The steps for creating the Meteor app and making it a git repo:
- Create a meteor app (give it the name you want), e.g.,
meteor create meteor_d3_example - Find the three created files and delete the Javascript and HTML code, because we don't need it.
- Change directory (e.g.
cd meteor_d3_example. - In the command line write
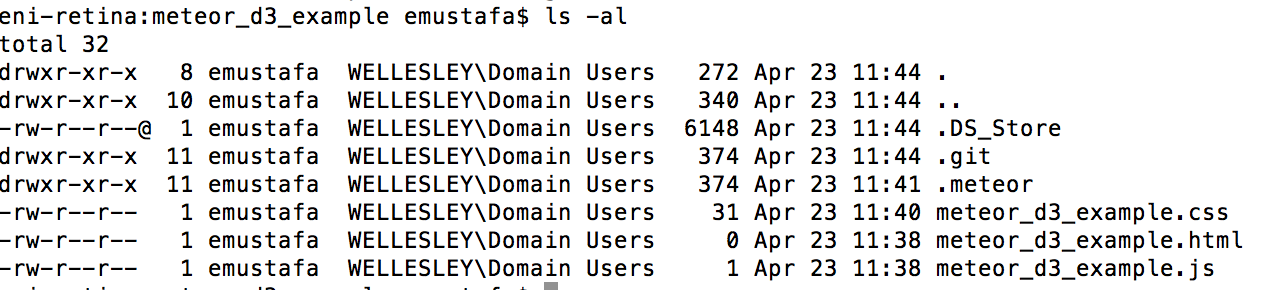
git init. This will initialize this folder as a git repo. You can writels -lato see how a hidden folder.gitwas created inside our app folder (see screenshot below). - In the command line write
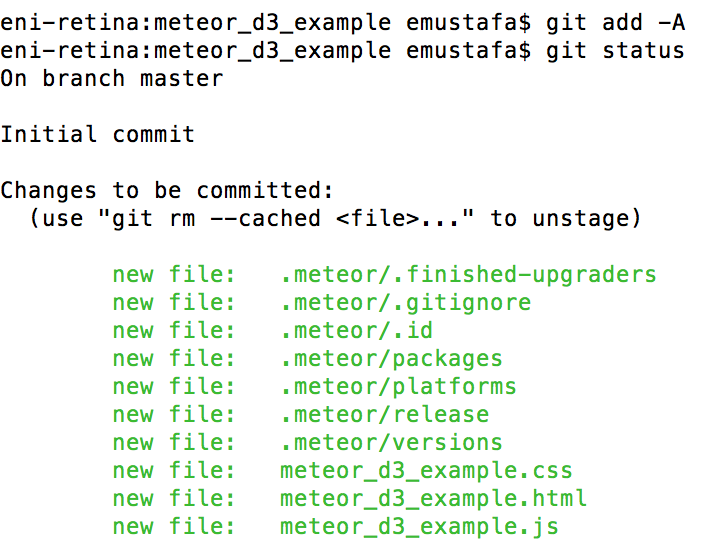
git add -A. This will add all files in the repo. - In the command line write
git statusto see the list of all files that were committed (see screenshot below). - Open your GitHub for Mac / Windows. Go to the menu "File | Add Local Repository ...". Navigate to the meteor app folder you created, select that folder, and click add. The entire content of the folder will appear in the interface (as checked files).
git add -A.Commit changes locally
Let's add some code to the empty HTML file. Here is the code I added:
<head>
  <title>An example of using D3.js in Meteor
</head>
<body>
  <h1>D3 example on a Meteor App
</body>
Let's add some code to the empty JS file. Here is the code I added:
 if (Meteor.isClient){

  Session.set("name", "D3");
  console.log("I'm running client code");

}
If we look at the files now through the GitHub for Mac/Windows interface, we will see lots of green lines, showing the code that we have added in the two files.
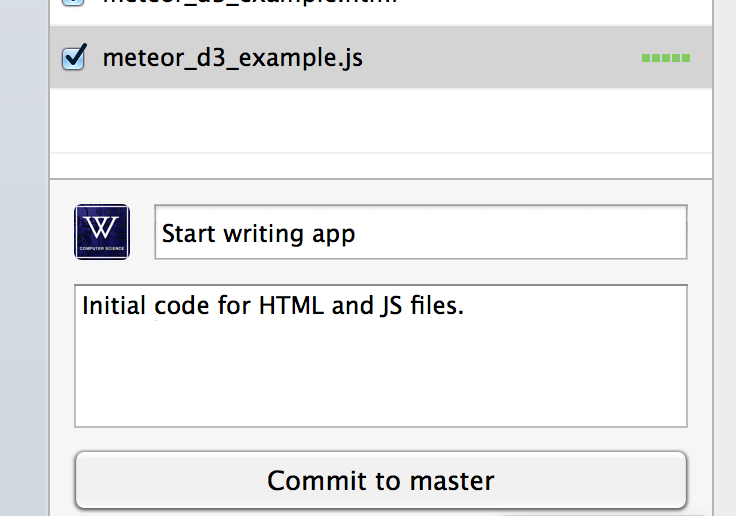
Let's commit these changes to the repo, so that we'll have a screenshot of how the app looks at this moment. Before every commit, don't forget to write at least a summary phrase/sentence for the commit. You can also provide more information in Description (see screenshot).
Once you have performed the commit, all files will seem to disappear and the message "No Diffs" will appear in the middle of the main pane.
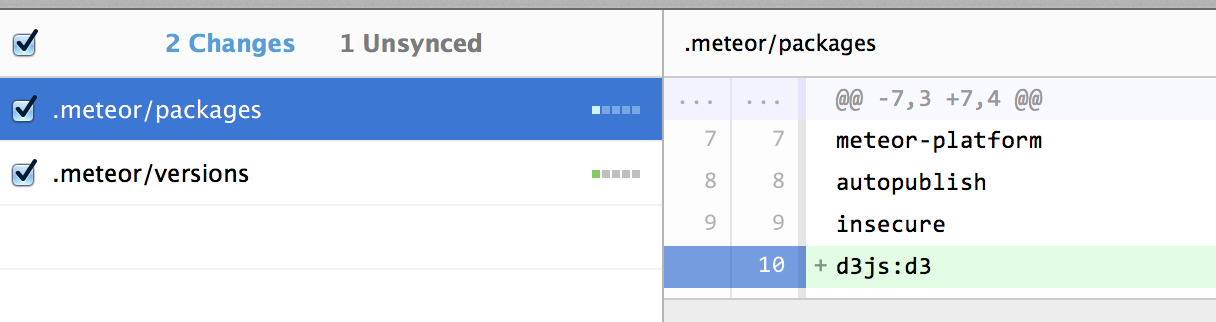
Let's add the D3 module to our app, meteor add d3js:d3. If you go back
to the GitHub app, you'll see some new files shown in the interface, despite we didn't
add any code. This is because Meteor has its own "hidden" files that will be updated
when we add packages. In this case, we'll see something like the screenshot below:
At this point, we don't need to commit again, this was a small change. I added more code to the HTML/JS files to create two SVG elements, so that when we click on one of them, dots are drawn on both areas.
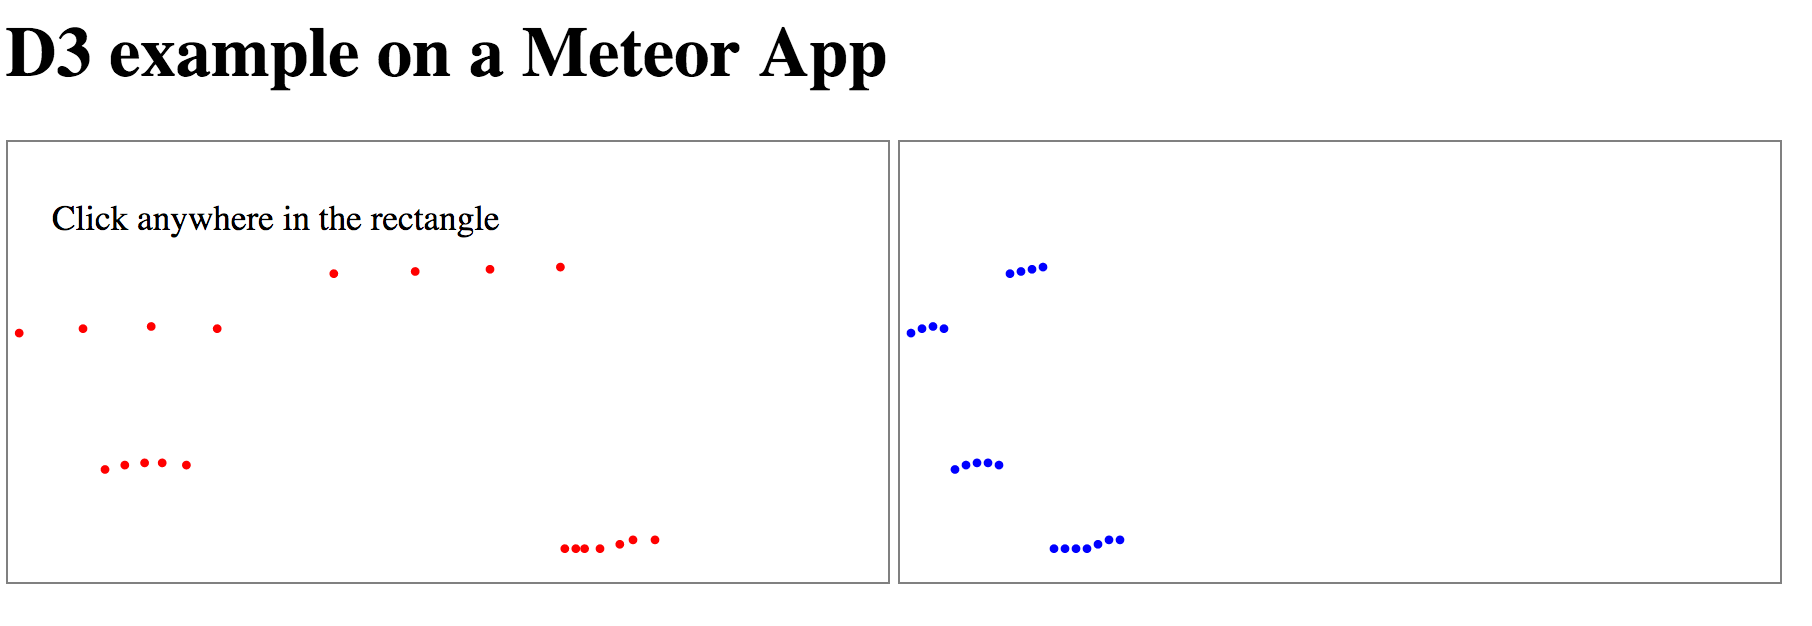
You can visit this simple D3 version at: http://simple-d3-v1.meteor.com/.
Publish on GitHub
Now that we have a first funcitioning version for our app, we'll do two things:
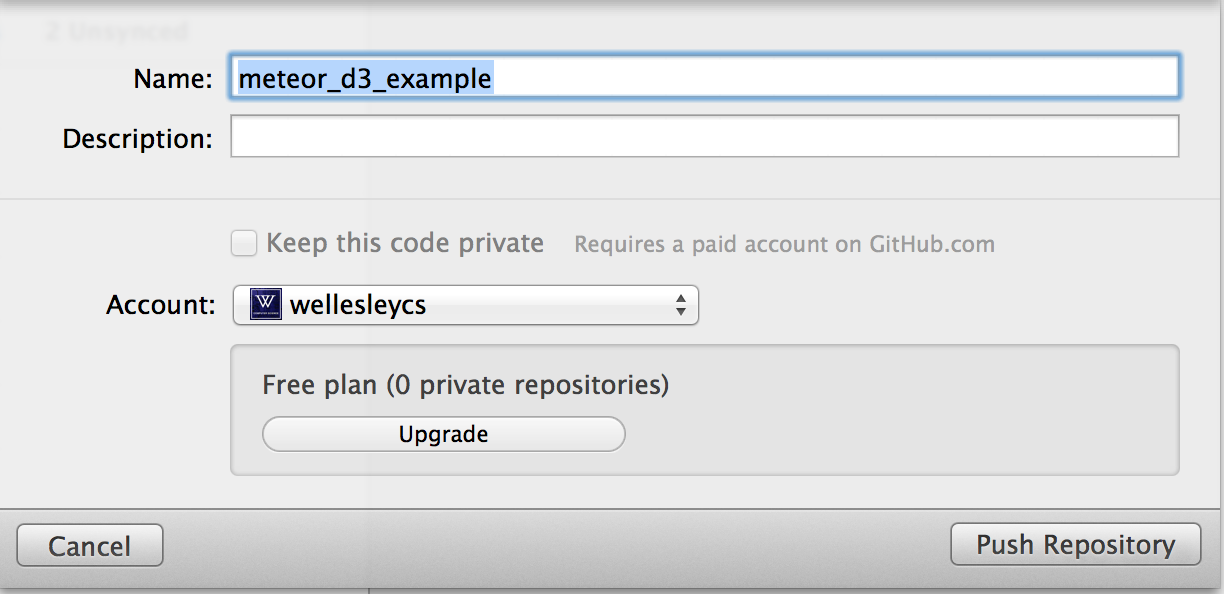
To publish, click on the "Publish" button (top-right corner in the GitHub for Mac) and complete the dialog box. This is how that box looks for my project:
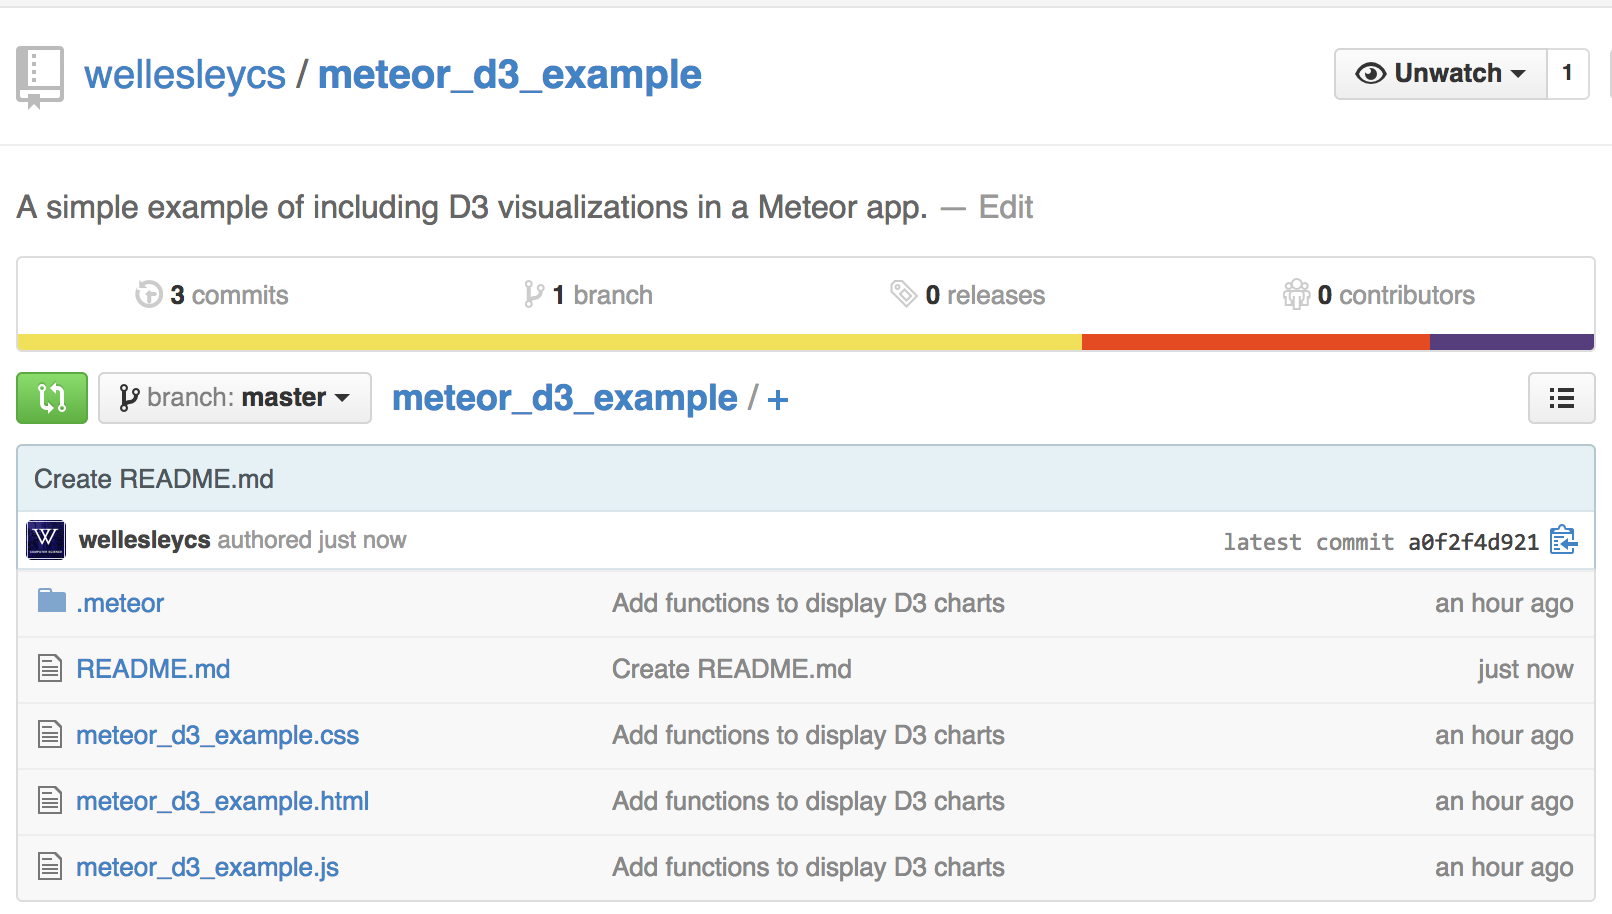
Once this is done, visit your GitHub page to see the new repository. This is how the GitHub page looks for me (I also added a Readme file from the web page):
Add Collaborators
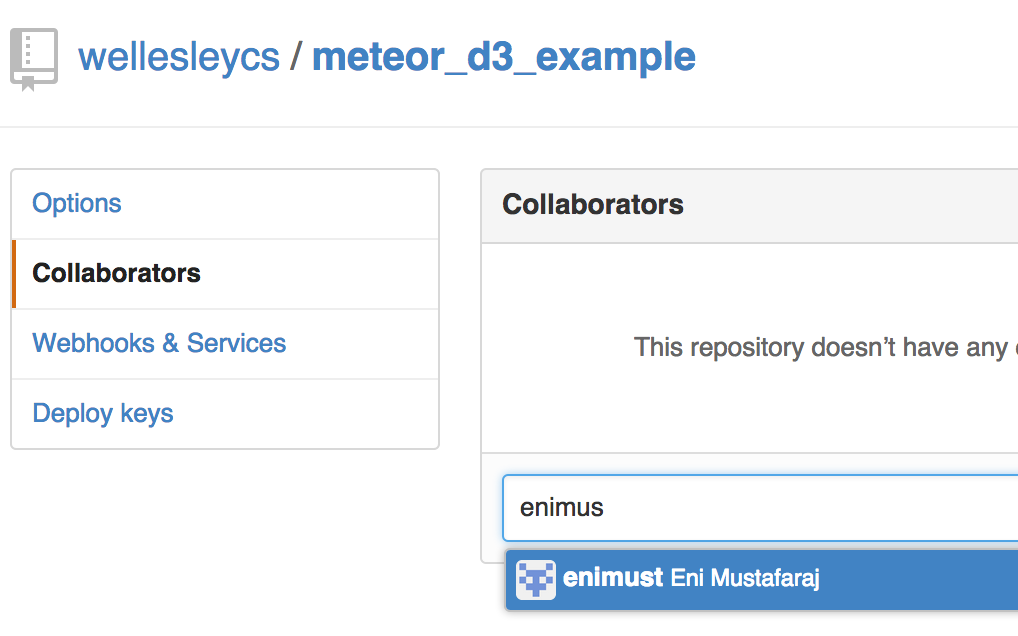
For the team project, one of you will create the initial repo and publish it on the GitHub. Then, this initiator will invite the rest of the team to collaborate on the project. To do this, on the right side, find the menu Settings, click on it and then choose the tab "Collaborators". If you know the username of your partners, add them in the box. See an example below:
GitHub will send an email to the people you invited to notify them that they were added to a project.
The added students can visit now the link of the GitHub repo and do a few things:
- Create a new branch with a name like: "wendy-d3-extension", in which you can make your changes, without the fear of messing with the "master" branch.
- Clone the repository in your Desktop (look for the button that does this)
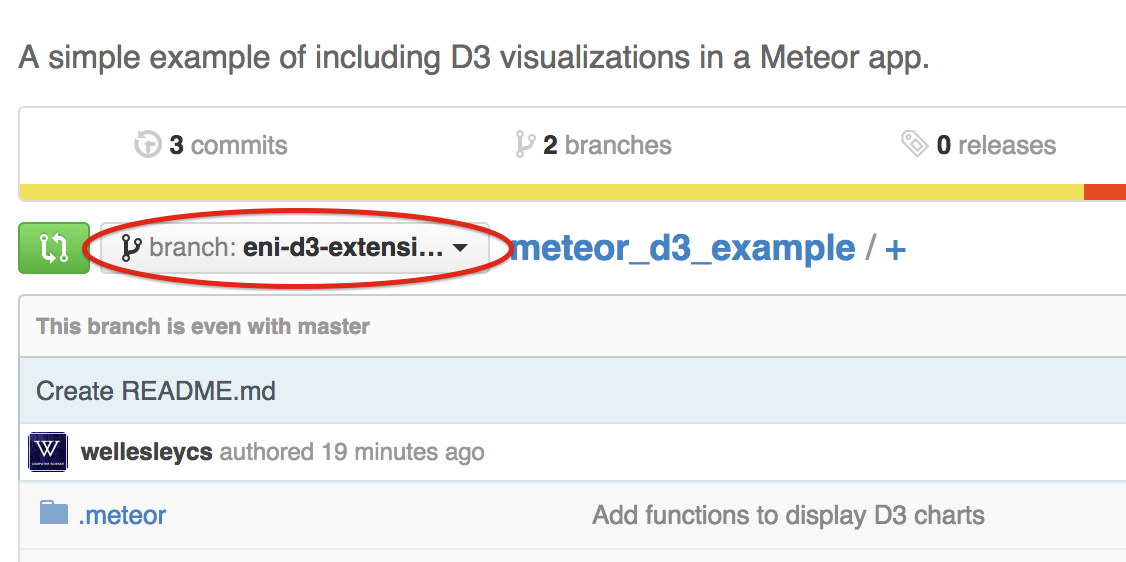
Notice in the screenshot below the branch I created from my second GitHub account (the repository was created by "wellesleycs", the new branch was created by "enimust").
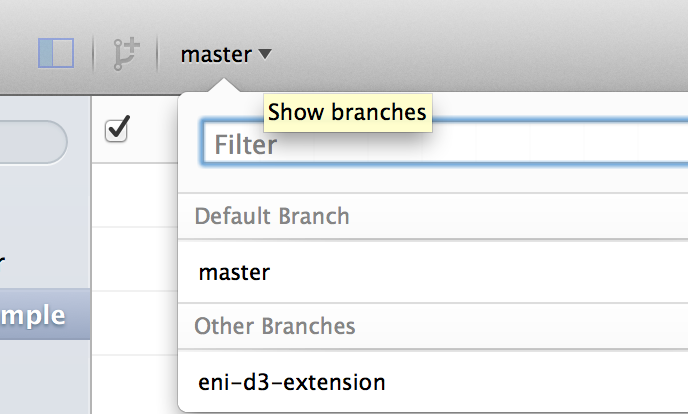
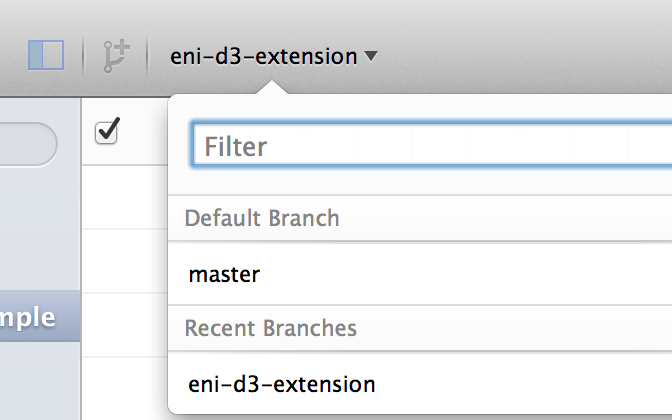
Once the collaborators have cloned the repo in their desktop, they can choose their branch to work on it. In GitHub for Mac, this is how you choose a branch:
The Pull Request
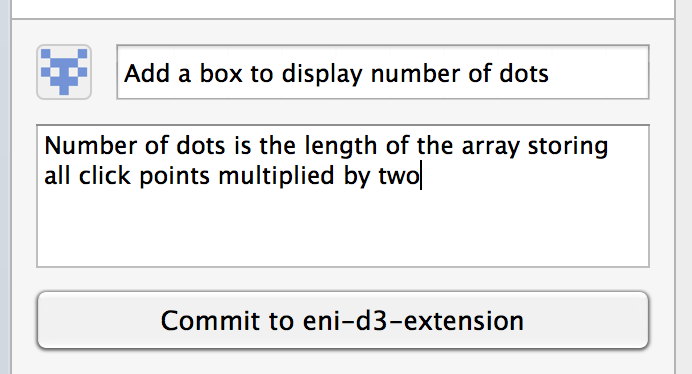
Let's assume that one of the collaborators made some changes to their own branch and committed these changes. Here is how I commited some changes to the branch I created:
After this, you can click on the upper-right button "Sync" (in GitHub for Mac), to sync the commits to the GitHub website. As long as you're making commits to your own branch, everything will be fine. However, since you are sharing the same repository, all involved people will see the changes in a news feed:
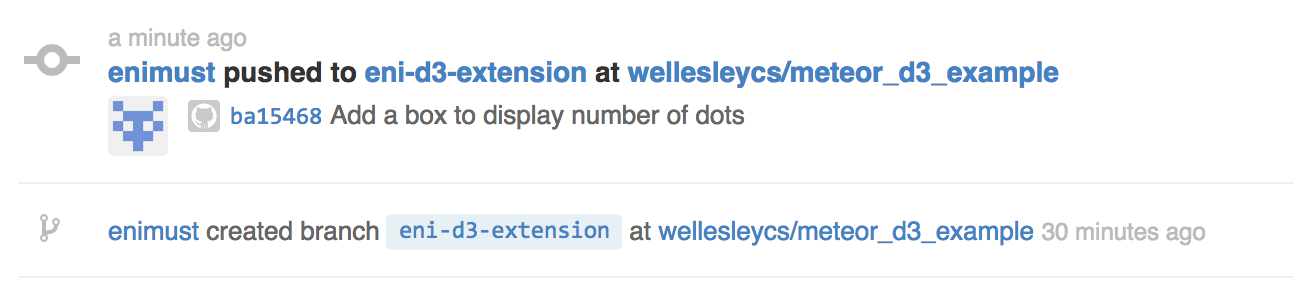
In the GitHub page of the person who committed changes, things look different. Here is what I see after the sync with the website:

If you'll click on the button "Compare & pull request", GitHub (or Git running on GitHub) will compare the master branch with your branch and will let you know if the branches can be merged. Because the code I added in the new branch didn't make any changes to the exisiting code (only additions), then I receive the message that the merge is possible.
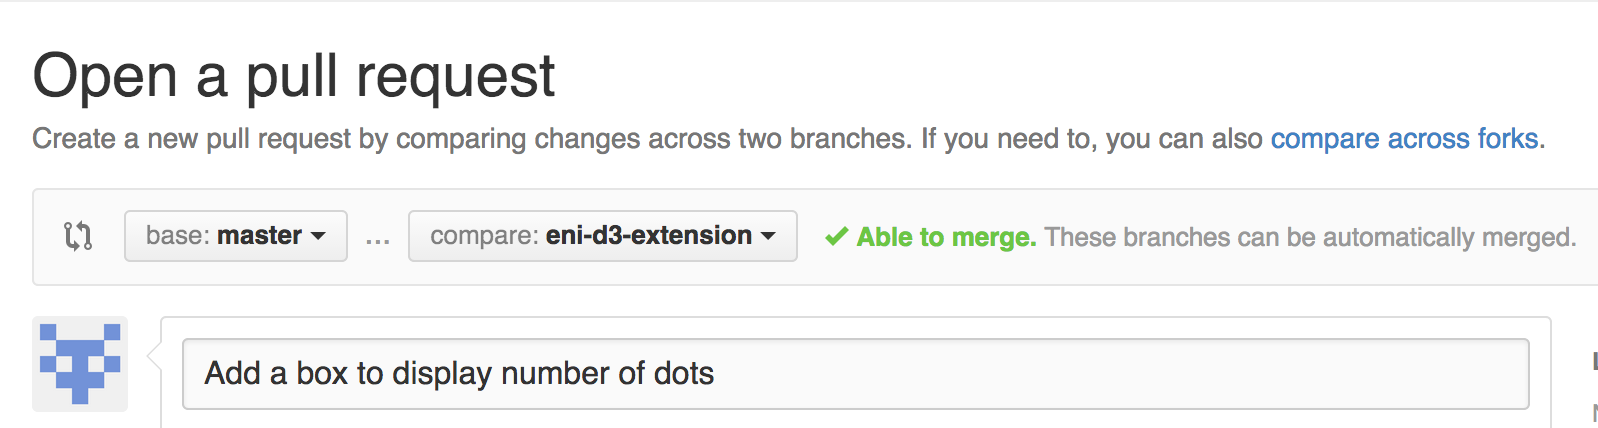
Clicking the button "Create pull request" will display a new page where the merge can be completed:

After clicking a few buttons, the merging is complete.
In this shown example, the merging was relatively easy, because the contributor had not deleted anything that was in the "master" branch. What happens if she does that?
For small changes, automatic merging will still be possible. Eventually, for multiple changes you'll see a message that automatic merging is not possible and you'll need to start discussing with your collaborators whether the changes are acceptable. You can use the "Blame" button to see who introduced certain changes (first select a file, then you'll see the "Blame" button).
D3 example - second version
The new D3 example app can be found live at: http://simple-d3-v2.meteor.com/.