Meteor - Reactivity
Completing Previous Material
There are a few things we still need to finish:
- Finding packages in AtmosphereJS
- Adding packages to our project
- Sending emails from our app [Try this on your own after class]
Let's get the solution from last lecture and look at it.
If you unzip it on your machine and then cd into the folder, after starting the Meteor, and
opening the browser on http://localhots:3000/
More on Meteor
There is a lot of material online on Meteor, targetted at different audiences, with different levels of skills. This is a short, intro video: What is Meteor?
Other interesting videos that talk about the philosophy of Meteor and its structure.
Reactivity
Remember the app that we built in the first Meteor lecture: The To-Do List. Every time one of us made a change to the page, everyone got the changes immediately, without the need to refresh the page. How did that happen?
The answer is reactivity. Meteor is a reactive framework. When data in the database changes, things in our application change without the need for us to do anything.
Reactivity consists of two components:
- Reactive data sources - these are Javascript objects, that are able to signalize that a change in them happened.
- Reactive contexts (or computations) - these are blocks of code that are listening to data reactive sources and will re-run when they detect a change.
Not all objects in the Meteor code are reactive data stores, and not all code we write is a reactive context. Let us see the list here:
- Session variables: we can declare variables
with
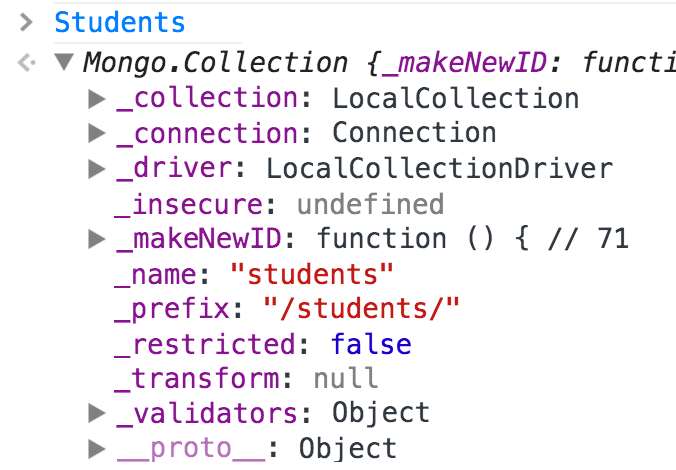
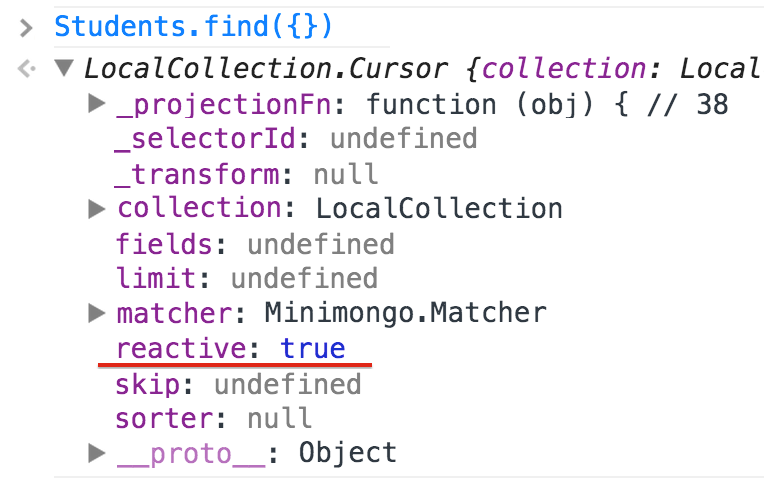
Session.set()and retrieve them withSession.get()and these session variables will be global and reactive. - Cursors: a cursor is the object we get when querying the database.
A cursor is not be confounded with a collection. They are different objects.
The cursor is created when we invoke the method .find() on a database
collection. In order to iterate over a set of data, we need the cursor. That
is exactly what is being used by the {{#each }} block in the HTML
templates in Meteor.
Sessions
There are two places in which we usually will store data: the MongoDB database (where changes by all users of the app are stored), which also has a local copy as Minimongo in every instance of the application, and the Session data store (where changes belonging to one user session can be stored).
The Session is a global reactive data store. It is global because all parts of the application will have access to it. [However, if you open the app in a new tab, you'll not have access to the previous session.]
We can use the method Session.set(key, value) to set a pair of
key, value, and the method Session.get(key) to retrieve the value associated
with the key. It is very useful when we want to have a selected item to work with (such
as in AM6 where for the selected player we want to increase or decrease the points).
The Session is a reactive data source in the sense that if we use Session.get(key)
inside a template helper function, whenever the value for the key is changed somewhere
else in the program, the template will update immediately. However, the fact that a
template is a reactive data context is important as well. If we use
Session.get(key) inside a normal Javascript function, nothing will happen
if the value is changed.
One function can be turned into a reactive context by being added to the
method Tracker.autorun(). We will see an example of this soon.
User Accounts
You'll learn to add user accounts in AM6, in order to store the state of a leaderboard for every user separately. A summary of the steps that are needed is given below.
First you'll need to add the packages that deal with the user interface (UI) of creating a user account (the form with its input fields and different buttons), and then the accounts that store the user information in the database.
// Vanilla accounts used in AM6
meteor add account-ui
meteor add accounts-password
// Stylish accounts with Bootstrap UI elements
meteor add ian:accounts-ui-bootstrap-3
meteor add accounts-password
Once we have added the packages to our project, using the accounts is as easy as inserting the following template in the HTML page:
{{> loginButtons}}
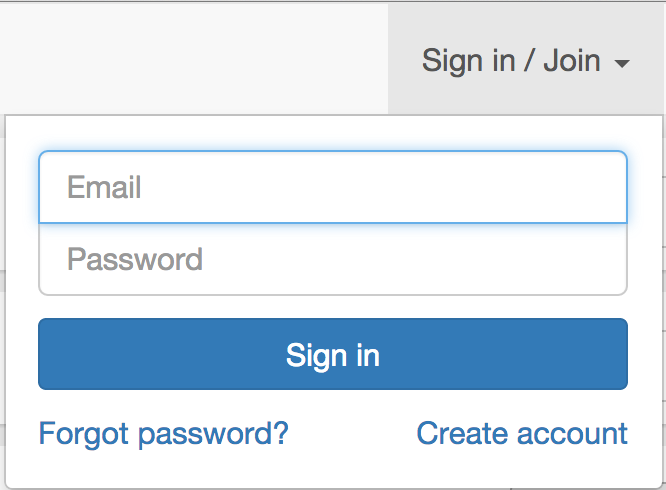
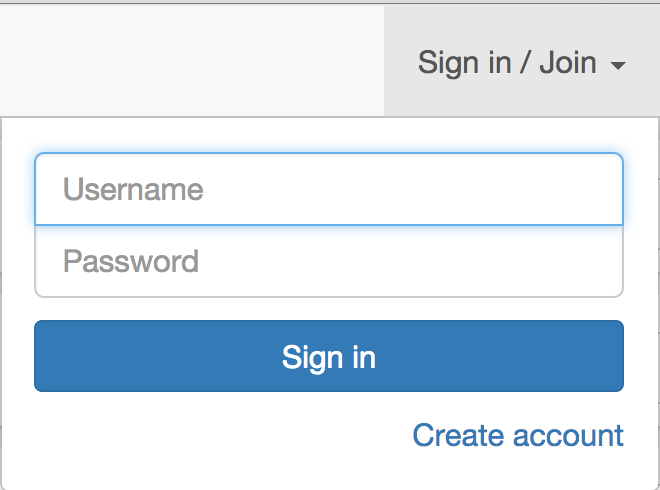
Adding the following lines of code allows you to change from email to username accounts.
Accounts.ui.config({
  passwordSignupFields: 'USERNAME_ONLY'
});
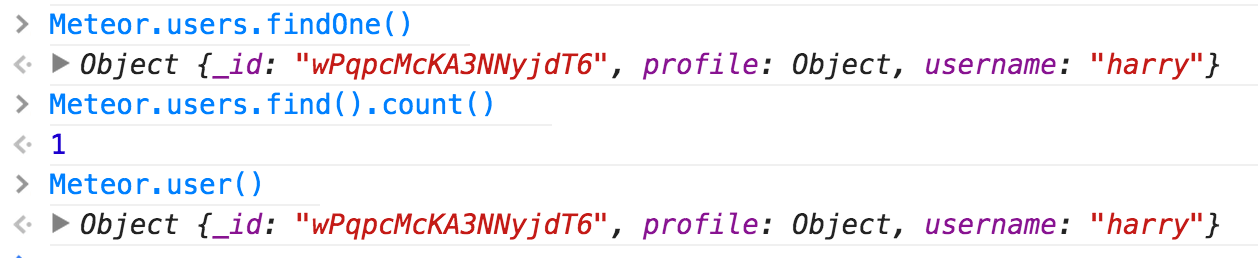
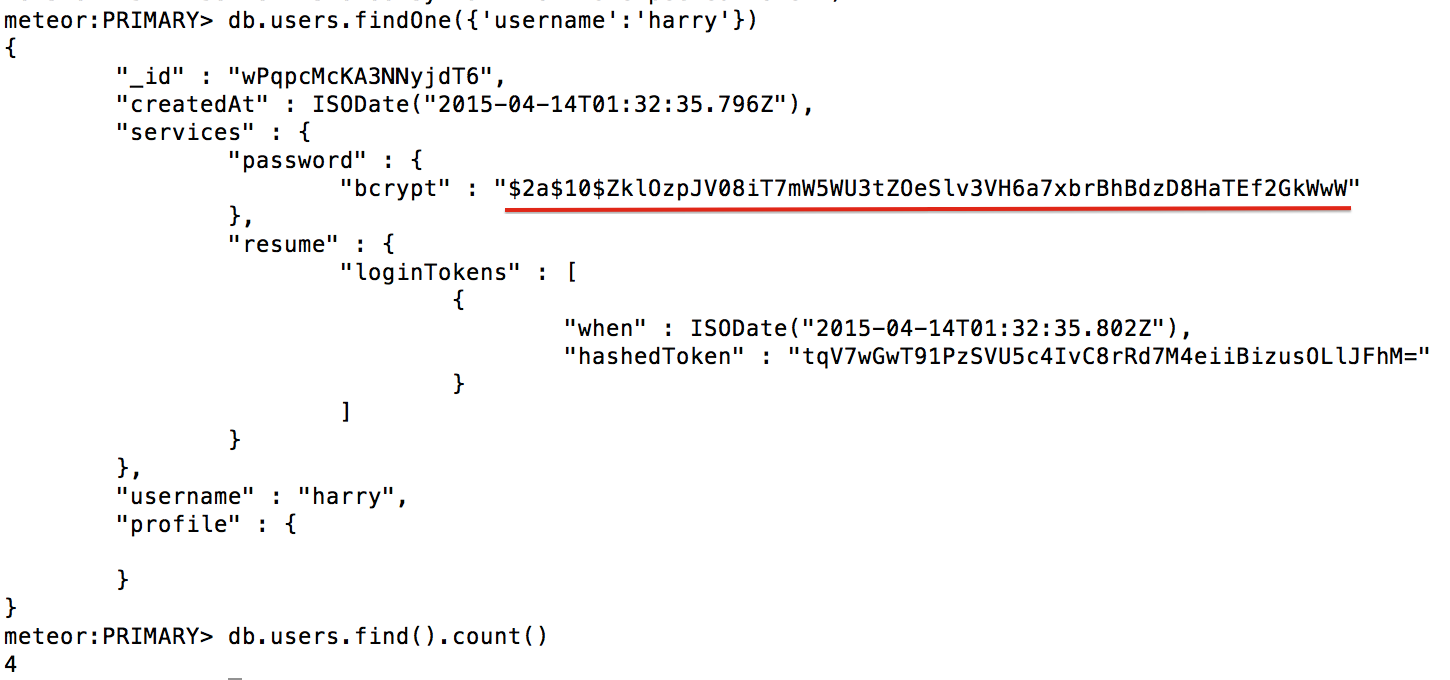
Once you create an account, you can see different information in the browser console and the MongoDB on the server.
The Meteor documentation discusses how you can use exisiting APIs such as Google, Facebook, Twitter, or GitHub, to allow users to login with those credentials in the Meteor website. Try it out.
Continue with Meteor
Once you have completed AM6 and the corresponding book, there are more resources that you can follow.
- Complete the To-Do list tutorial from the Meteor website.
- Learn to build an app with multiple pages (by the author of "Your First Meteor Application").
- Read chapters, tutorials, case studies from Discover Meteor (buying the book might be a good investment if you want to work further with Meteor).
- Read the documentation of Meteor.