Process
We start off with some sketches.
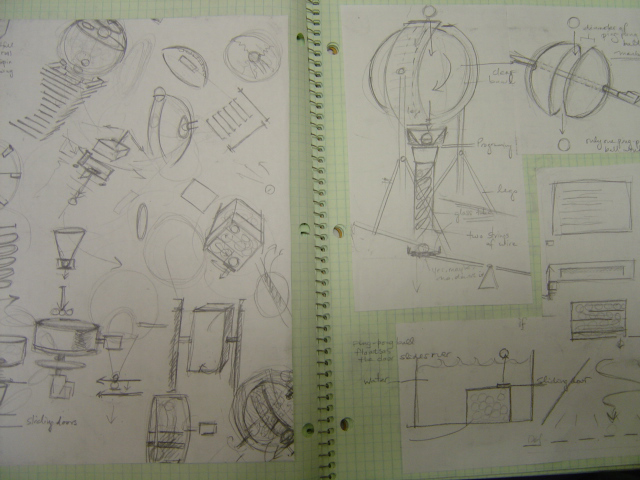

Our first idea involves a rod with a sensor attached that moves between a track of gear racks and motor-powered worm gears.

Wheels on either side of the gears help to balance the rod with the sensors. We briefly think about programming a vehicle with the sensors attached to its bottom to move over a sheet of paper.

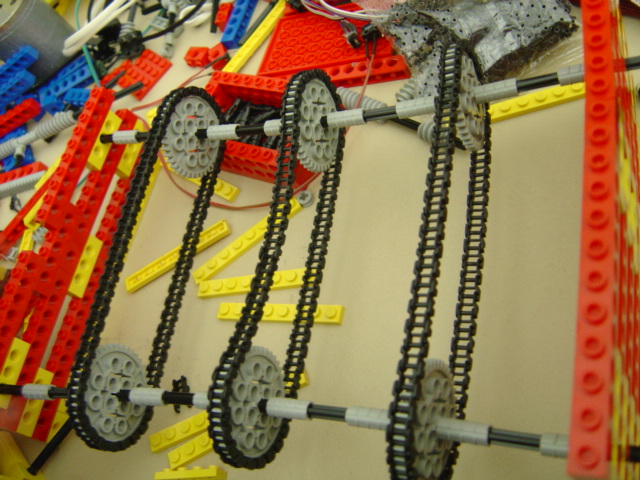
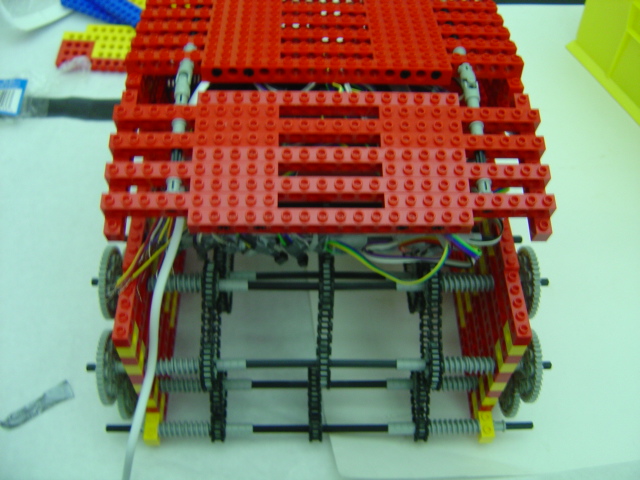
Instead, we decide to build a machine modeled after a fax machine so that a piece of paper can be fed into it. We start off with two chain links.
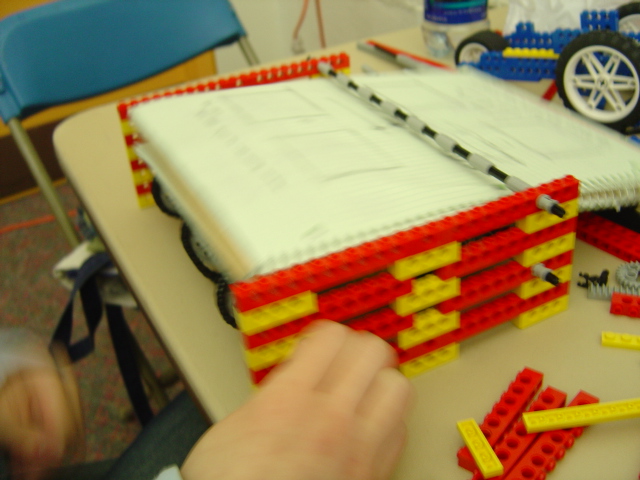
Then add a third. At this point, We can manually rotate the gears to move a notebook back and forth. The rod above the notebook is where we envision the sensors to be.
We discuss using a roll of fax paper. If we attach it at one end of the machine and an empty roll at the other end, we could easily make the paper move through the machine by connecting a motor to the empty roll. This would also solve the problem of paper jams caused by loose papers.
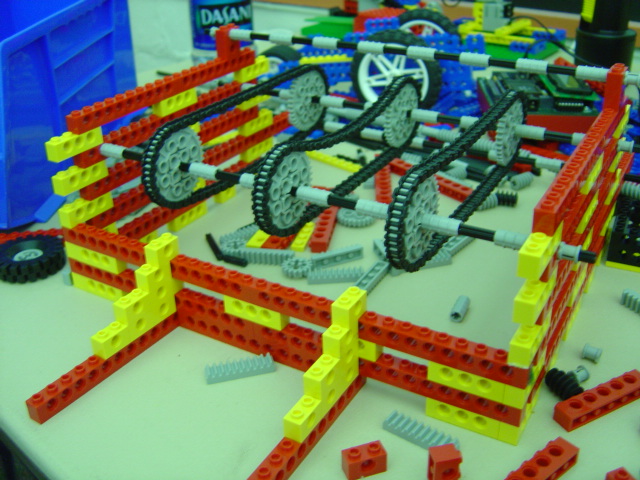
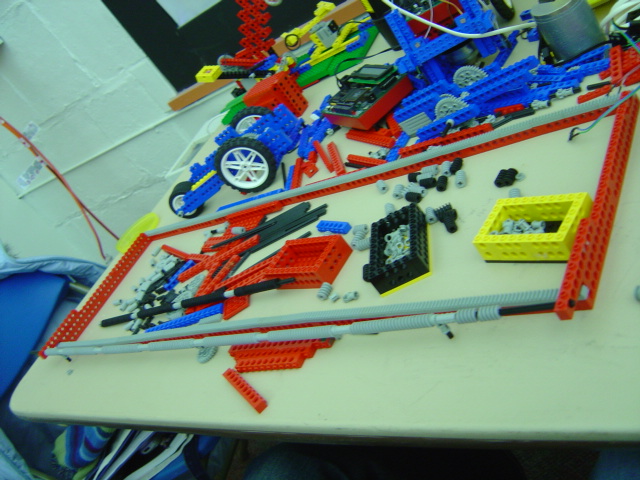
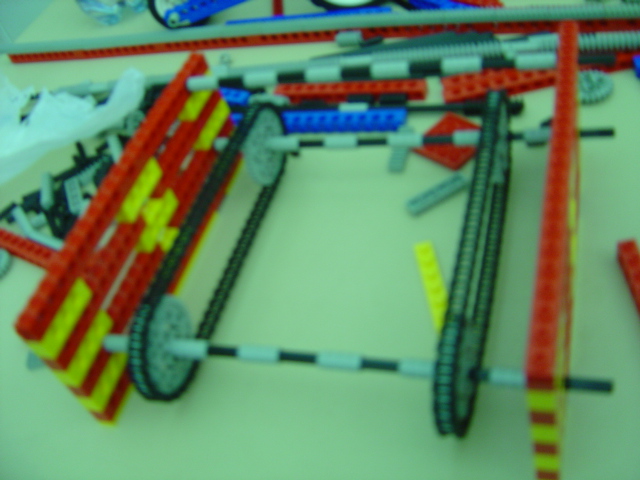
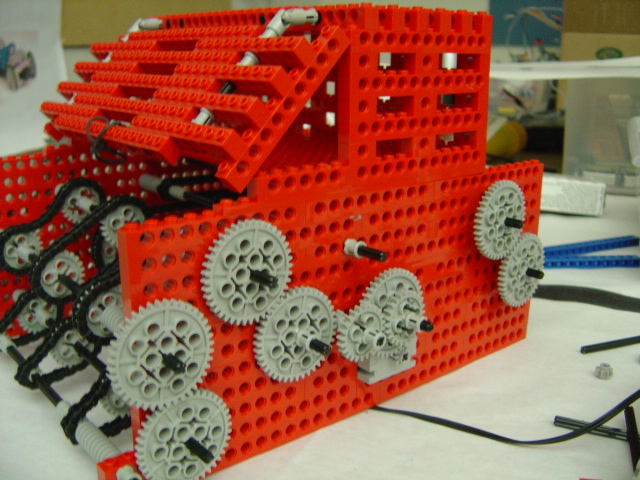
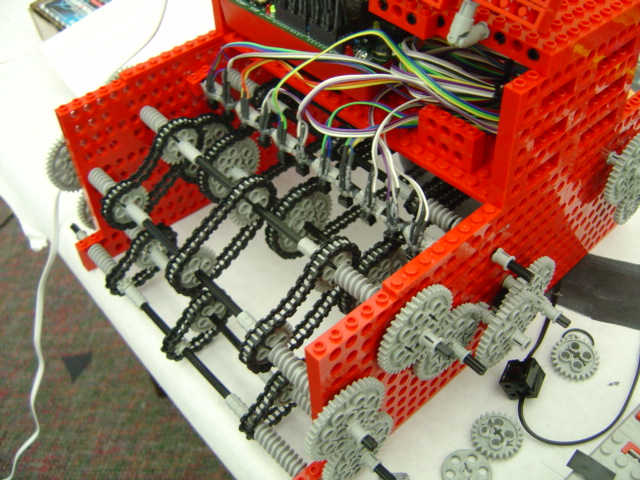
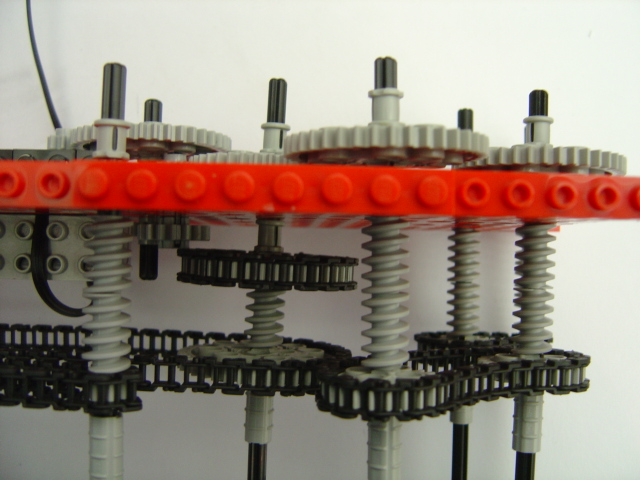
Instead, we go for more chain links and a massive amount of gears. Needless to say, it's pretty tricky making sure that the gears fit together correctly.

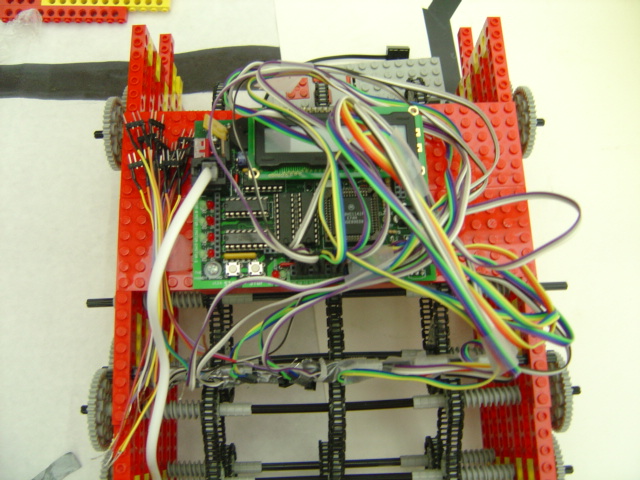
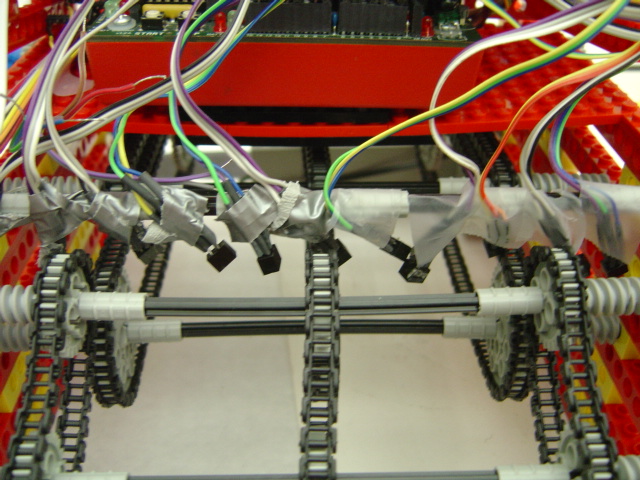
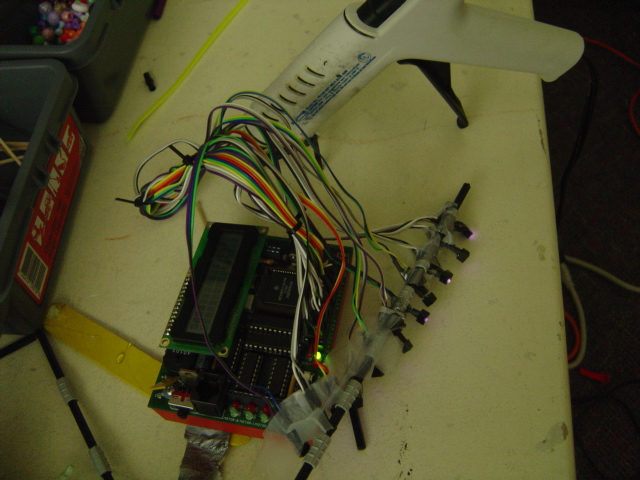
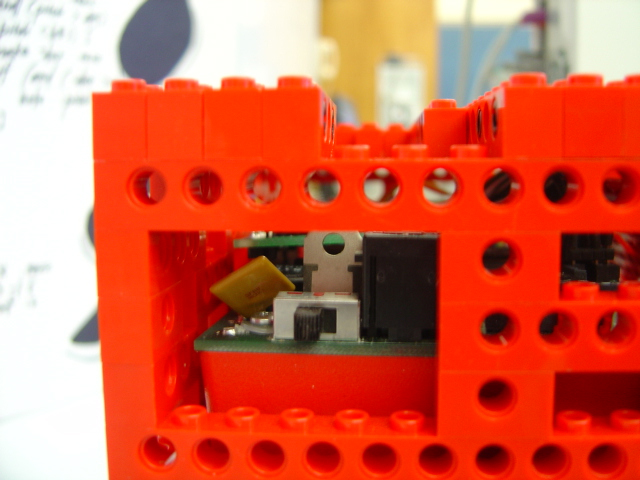
Now we need to figure out where to place the Handy Board and how to hide that mess of wires. Ideally, they should be near the sensors.

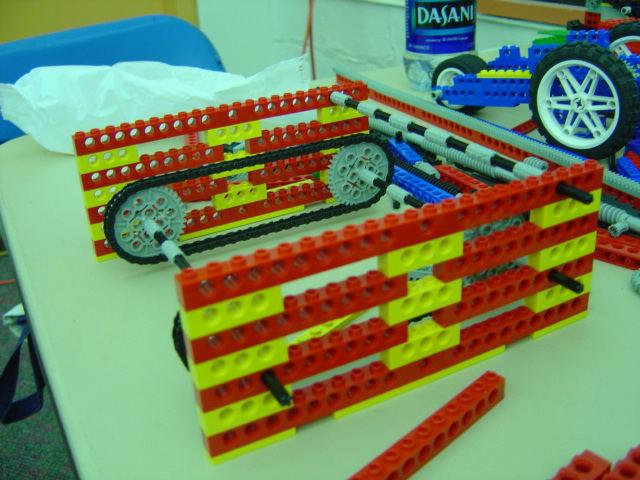
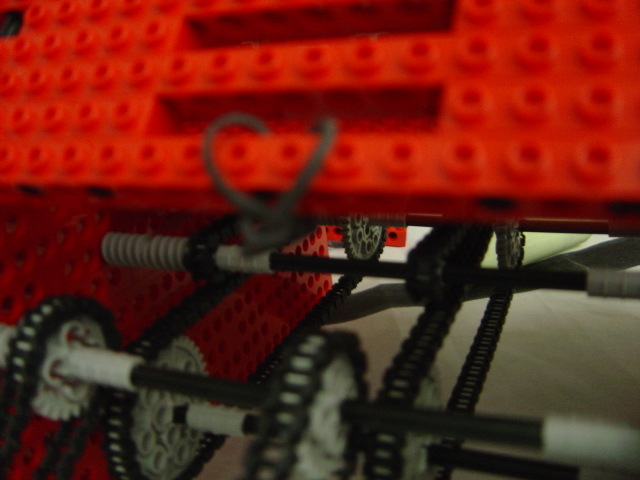
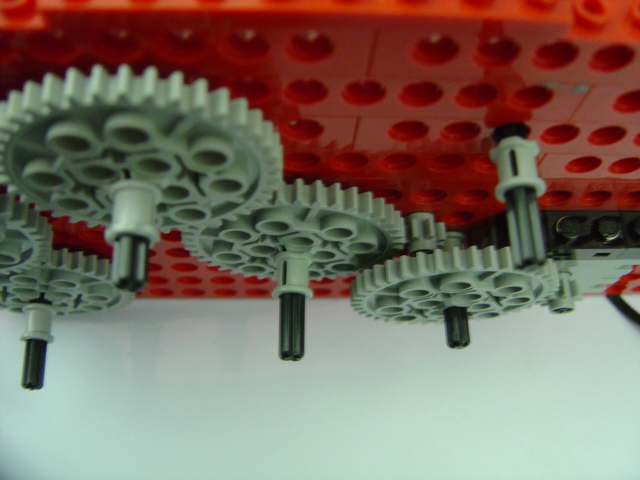
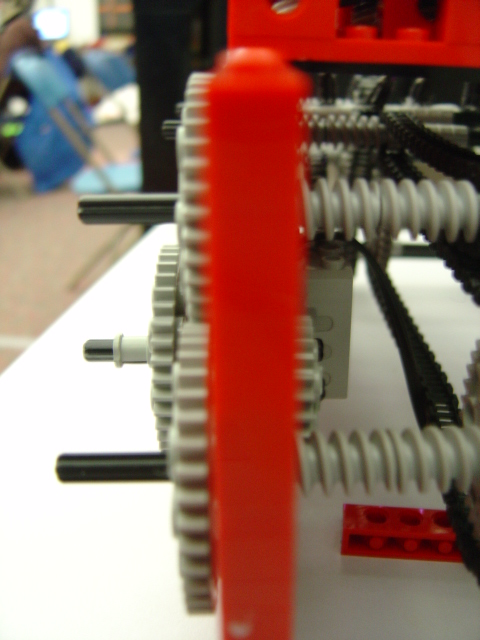
Model #1 complete. The motor is connected to the gear on the opposite side of the very left gear in the left photo. Right now, the gear ratio is 1:5.
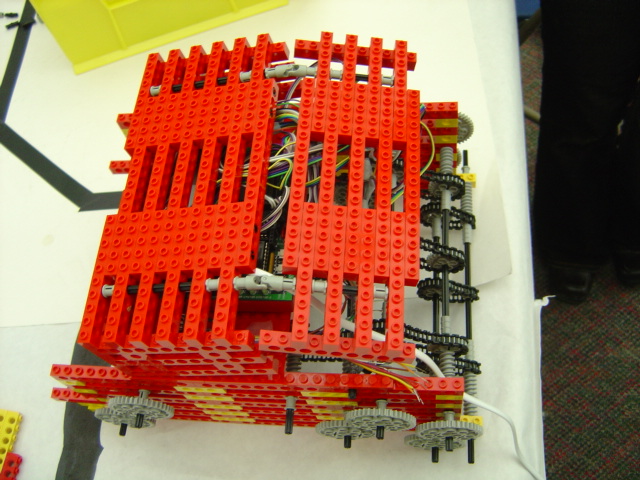
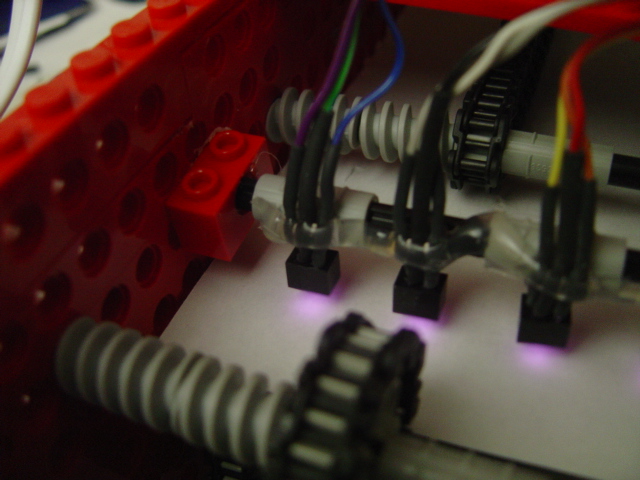
The sensors are currently duct-taped to a rod. They will soon be glued securely in place.

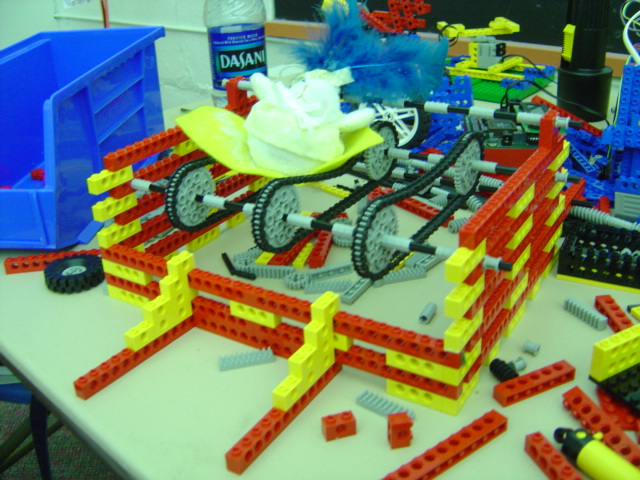
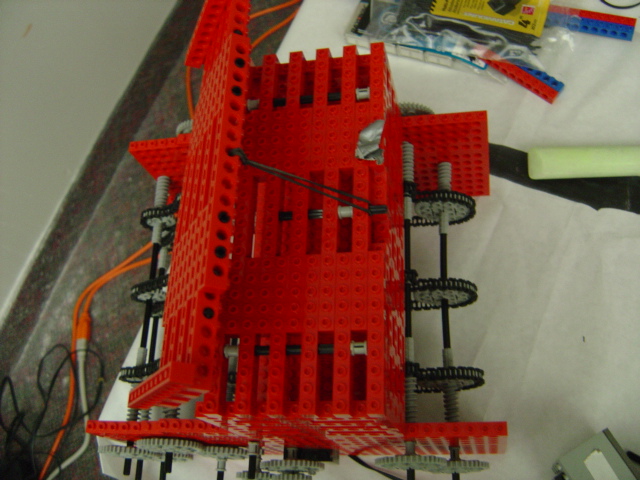
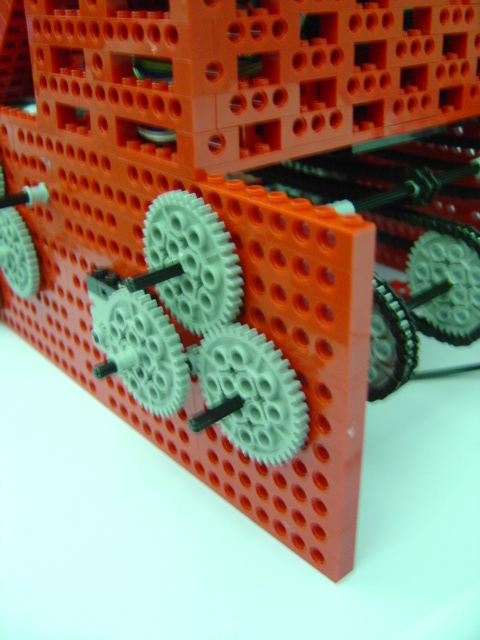
We fill in all the holes on the sides so that paper corners can't get caught in them. We also find that the motor is much too fast for our purposes, so we move the motor and reduce the gear ratio to 1:25.

With the addition of a rubber band and some stray rods, we devise a way to hold up the part covering the Handy Board so that our hands are free to fiddle around underneath in case of a problem without having to lift the cover off entirely.
Now for the sensors. We glue gun each sensor in place.

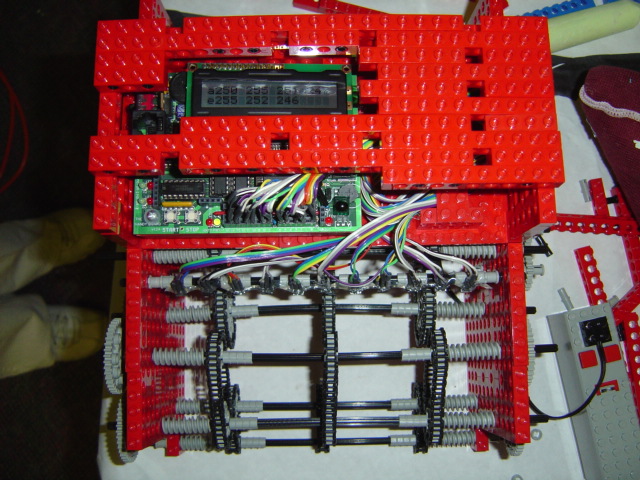
Some minor adjustments: We add several holes in the model so that we don't want to have to take the Handy Board out every time we want to take a look at the screen or turn the switch on and off.
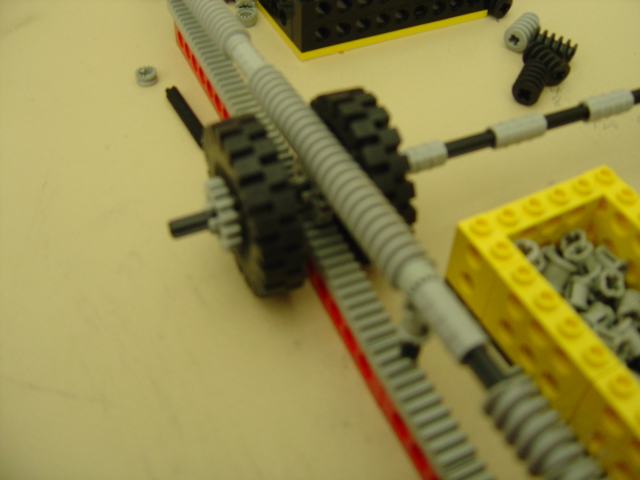
The sensors are having a bit of trouble differentiating between white and black. We decide to move the sensors down just a bit, closer to the paper. Lowering the rod one hole down places the sensors too far down, causing the paper to jam. Instead of re-gluing the sensors, we simply use two 1x2 lego blocks and glue them where we want the sensors to be. We also add in an extra wheel wrapped in chain links just beneath the last sensor on each side to prevent the paper from drooping and the sensor from receiving an erroneous reading.

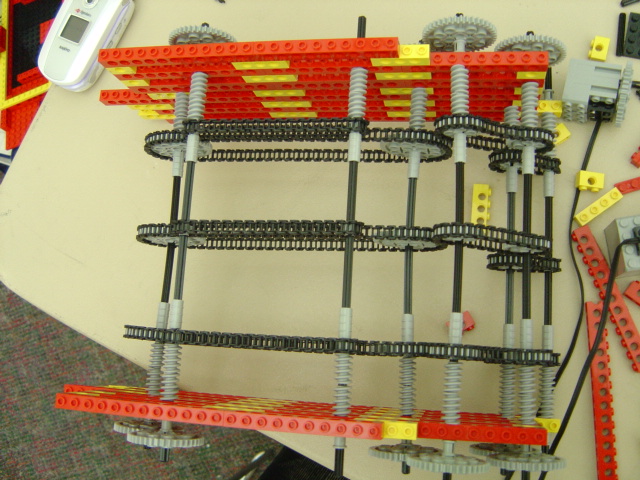
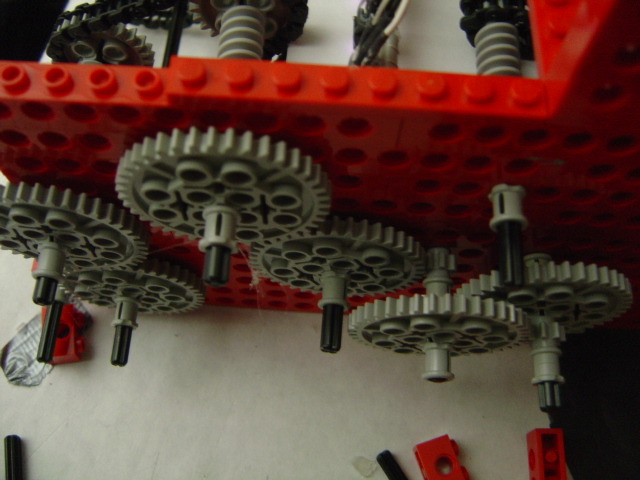
The gears are still too fast. We reduce the gear ratio from 1:25 to 1:125 by adding in a third set of 8-tooth-to-40-tooth gear train.
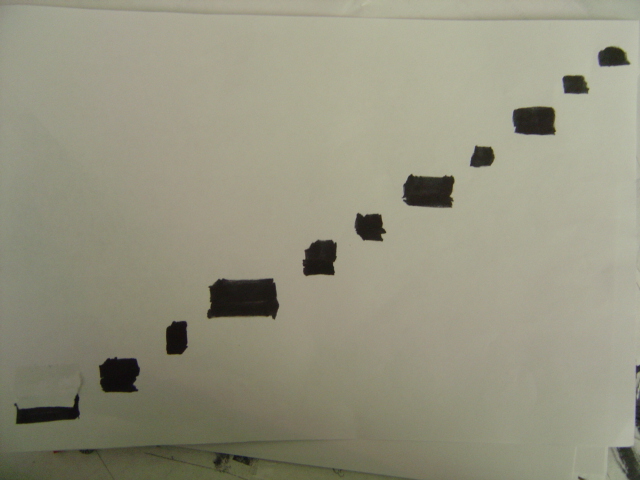
A couple of failed attempts at making custom sheet music. Some things to note: 1) The machine is unable to read two different notes simultaneously. 2) Longer stretch of black equals a longer note. 3) The notes should be marked with black electrical tape rather than with marker.

Model #2 complete.


The machine plays the music much too slowly, making it difficult to recognize the piece. We make the gear ratio 1:50 by replacing a set of 8:40 with 8:16.
Now the machine skips over some notes entirely. We decide to replace the 16-tooth gear for a 24-tooth, raising the ratio to 1:75.
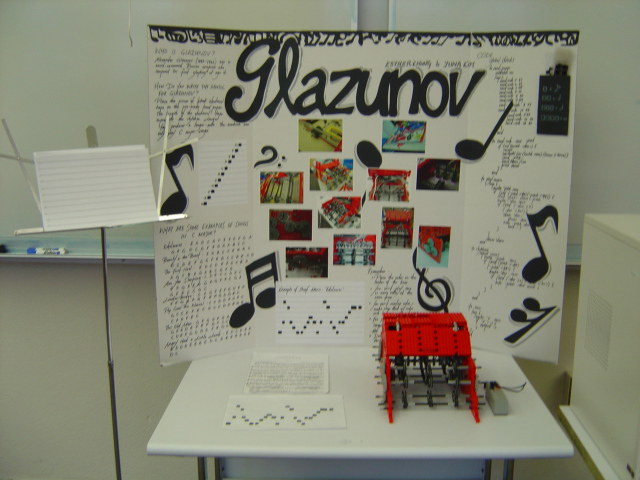
Completed model #3, along with a sample sheet of music ("Edelweiss").


The final setup for the exhibition.