Learning CSS:
Now that you've learned how to create HTML documents, you need to learn how to customize the fonts, colors, margins, backgrounds, images, and general layout of your website using CSS, or Cascading Style Sheets. The style of any HTML element can be set using style attributes that are formatted: style: "property:value;". The style properties that can be set and modified include background-color, text color, font-family, font-size, and text alignment. CSS can also be used to make responsive websites, or websites that will adjust to fit screens of different sizes and types; to use selectors, or "patterns" for selecting different elements to style; and to add simple animation to your websites.
Assignment: Study and Practice CSS
Over the next two weeks, you should complete the Khan Academy tutorial, and you can look at the CSS reference material in the W3Schools tutorial if you choose. The CSS specific sections of my HTML/CSS tutorial may also be helpful reference material.
In addition to this assignment, you'll find one other task at the end of the tutorial: to add CSS styling to your blog posts. You're provided with two CSS templates (each used twice, with different color/image choices) that you can use for your CSS, and examples of HTML pages that use the CSS.
Jump to a Tutorial:
If you'd like to navigate directly to one of the tutorial descriptions on the website, click any of the following links: Khan Academy, W3Schools, and my HTML/CSS tutorial.
Khan Academy CSS:
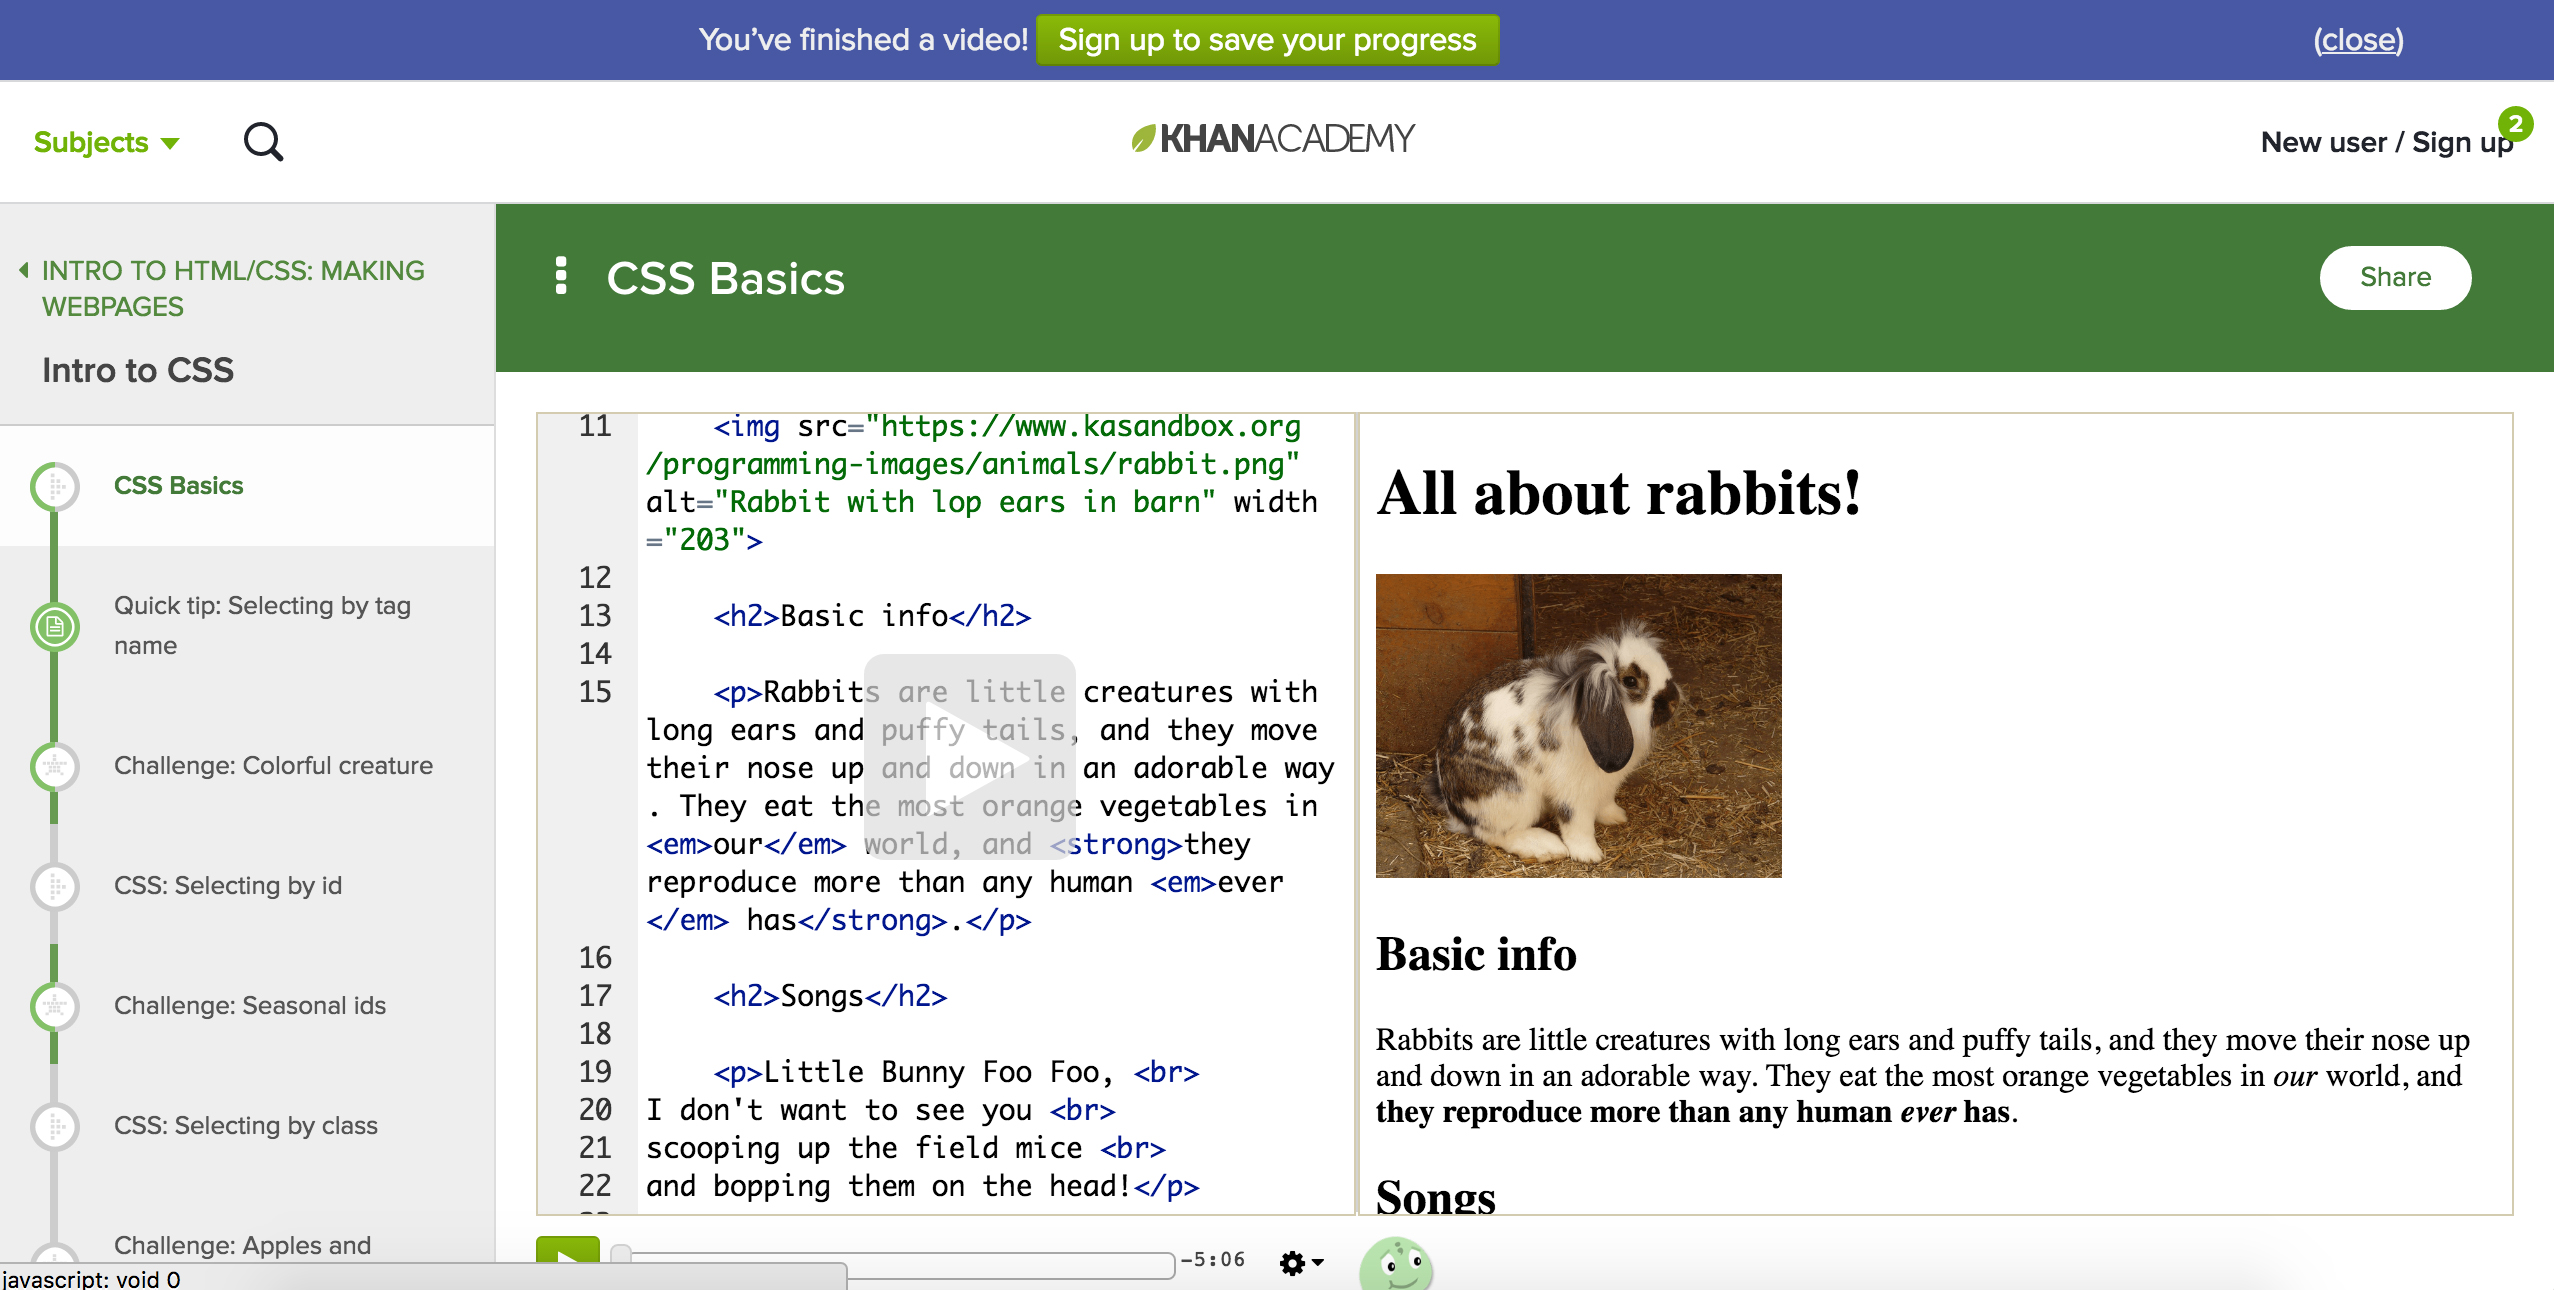
Let's get started with a Khan Academy tutorial video about basic CSS. The video introduces basic CSS concepts, then shows an example of inline styling color (or text-color) and back-ground color. Watch the video here, or click the link to navigate directly to the page.
Once you've watched the first CSS video, go to the complete "Intro to CSS" tutorial to work through several more CSS concepts. Like the HTML tutorial on Khan Academy, the CSS tutorial includes videos that demonstrate new CSS skills while a speaker in the background describes each step. They are followed with pages of useful information and "Challenges" that ask the user to test their understanding. At the bottom of each lesson, there are sections for "Questions", "Tips and Thanks", "Spin Offs", and "Documentation" that provide further information about the CSS lessons. The challenge projects will combine the skills you practiced in HTML (using headers, images, etc.) in the past few weeks with your new CSS skills. Like the video, this practice project uses inline styling - or, CSS style in <style> tags between the <head> tags. Keep in mind, though, for your blog posts and portfolio website you should use an external css stylesheet (a separate document written entirely in CSS and saved with a .css) that has been imported to your HTML document using <link> tags.
`
Click here to launch the tutorial!
If you like the Khan Academy tutorials, you can visit this website to find more CSS tutorials like CSS Text Properties, CSS Layout, and More CSS selectors.
W3Schools CSS:
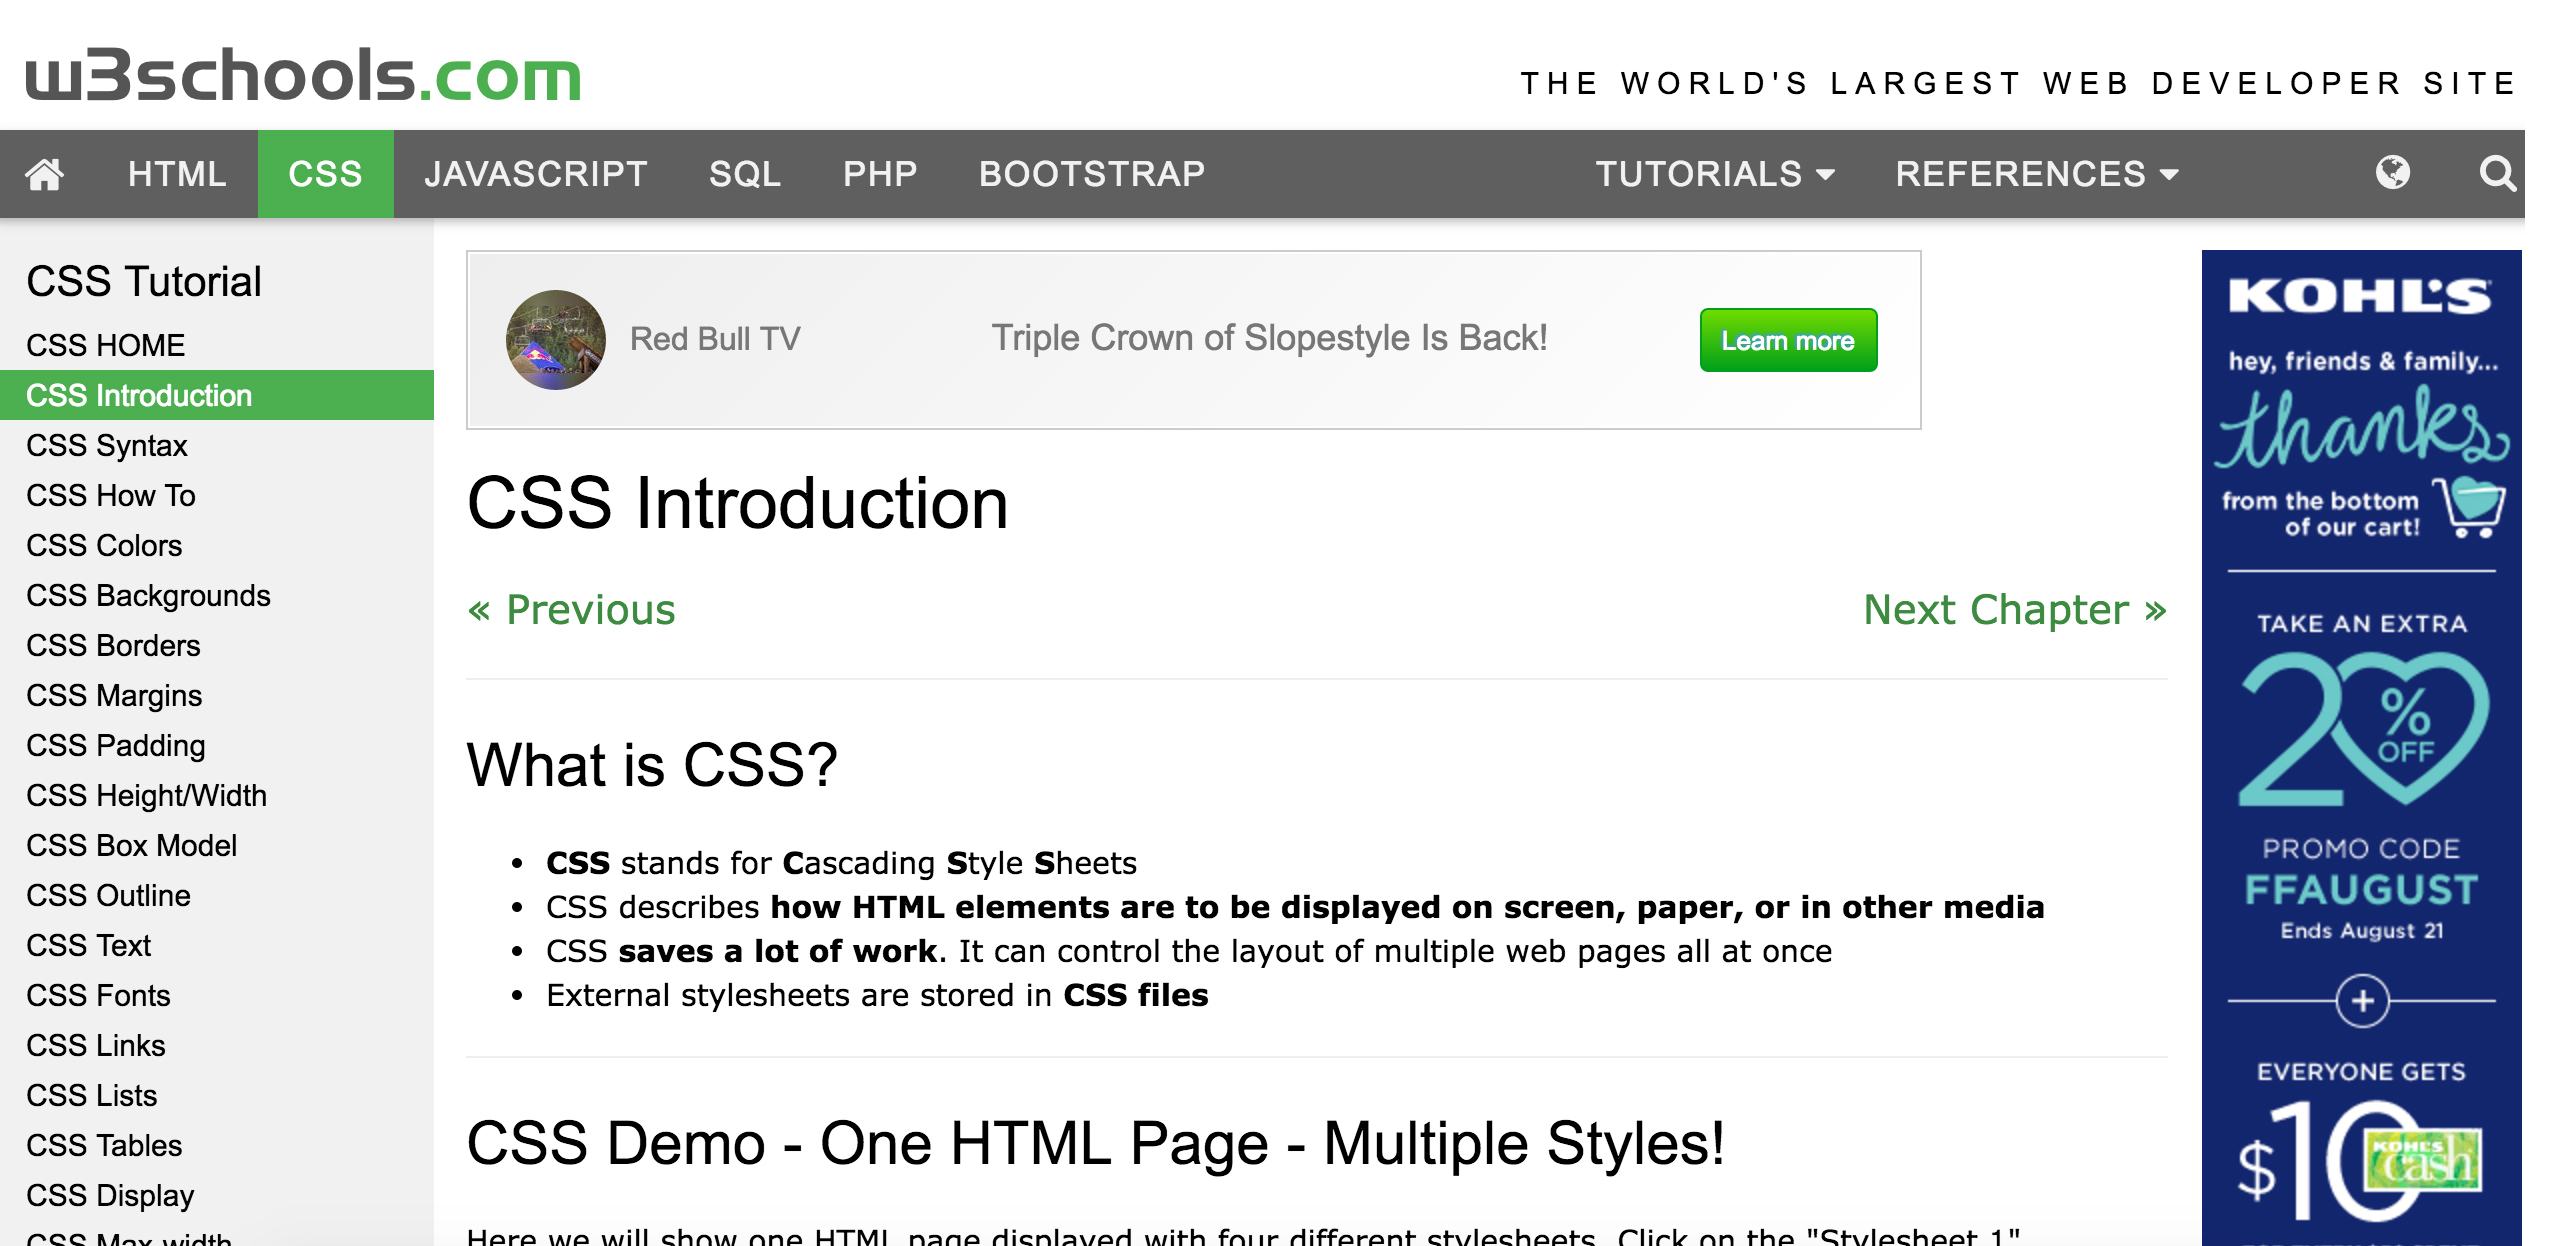
Another online resource and the tutorial I recommend everybody complete when learning CSS is the W3Schools tutorial. The W3Schools CSS tutorial is broken up by topics that can be easily navigated through an index on the left side of the screen. The lessons themselves are broken up with alternating chunks of formatted information and "Try It Yourself" examples that launch in a new tab on your browser. At the bottom of the lessons you'll find lists summaries of CSS Properties and further Exercises to test your understanding.
This tutorial contains much more information than the Khan Academy tutorial and offers more opportunities to practice writing CSS than the Tutorials Point tutorial. It will also take longer to complete this tutorial, so I'd recommend you budged between 3 and 5 hours or break the tutorial up over a few days. Although it will take more time to finish, you should try all or most of the "Try It Yourself" examples to practice the new CSS skills.
In this tutorial, I recommend you go through all the topics in the "CSS Tutorial" section (at the top of the navigation pane). You can also browse the topics in the "CSS3" section, but you should focus on the topics between "CSS HOME" and "CSS Align" in the initial, "CSS Tutorial".
Click here to launch the tutorial!
W3Schools also has several reference sheets that will help you write CSS documents for you blog posts. You can keep these open on your computer, or print them out and create an easily accessible CSS reference for your notebook/binder. These references are compilations of all CSS Properties, CSS Selectors (for selectively applying style), CSS Websafe Fonts, and CSS Colors. You can access other W3Schools reference sheets in the "CSS Reference" section of the left-side navigation pane.
A Crash Course in HTML and CSS... Introductory CSS from W3Schools' HTML Tutorial:
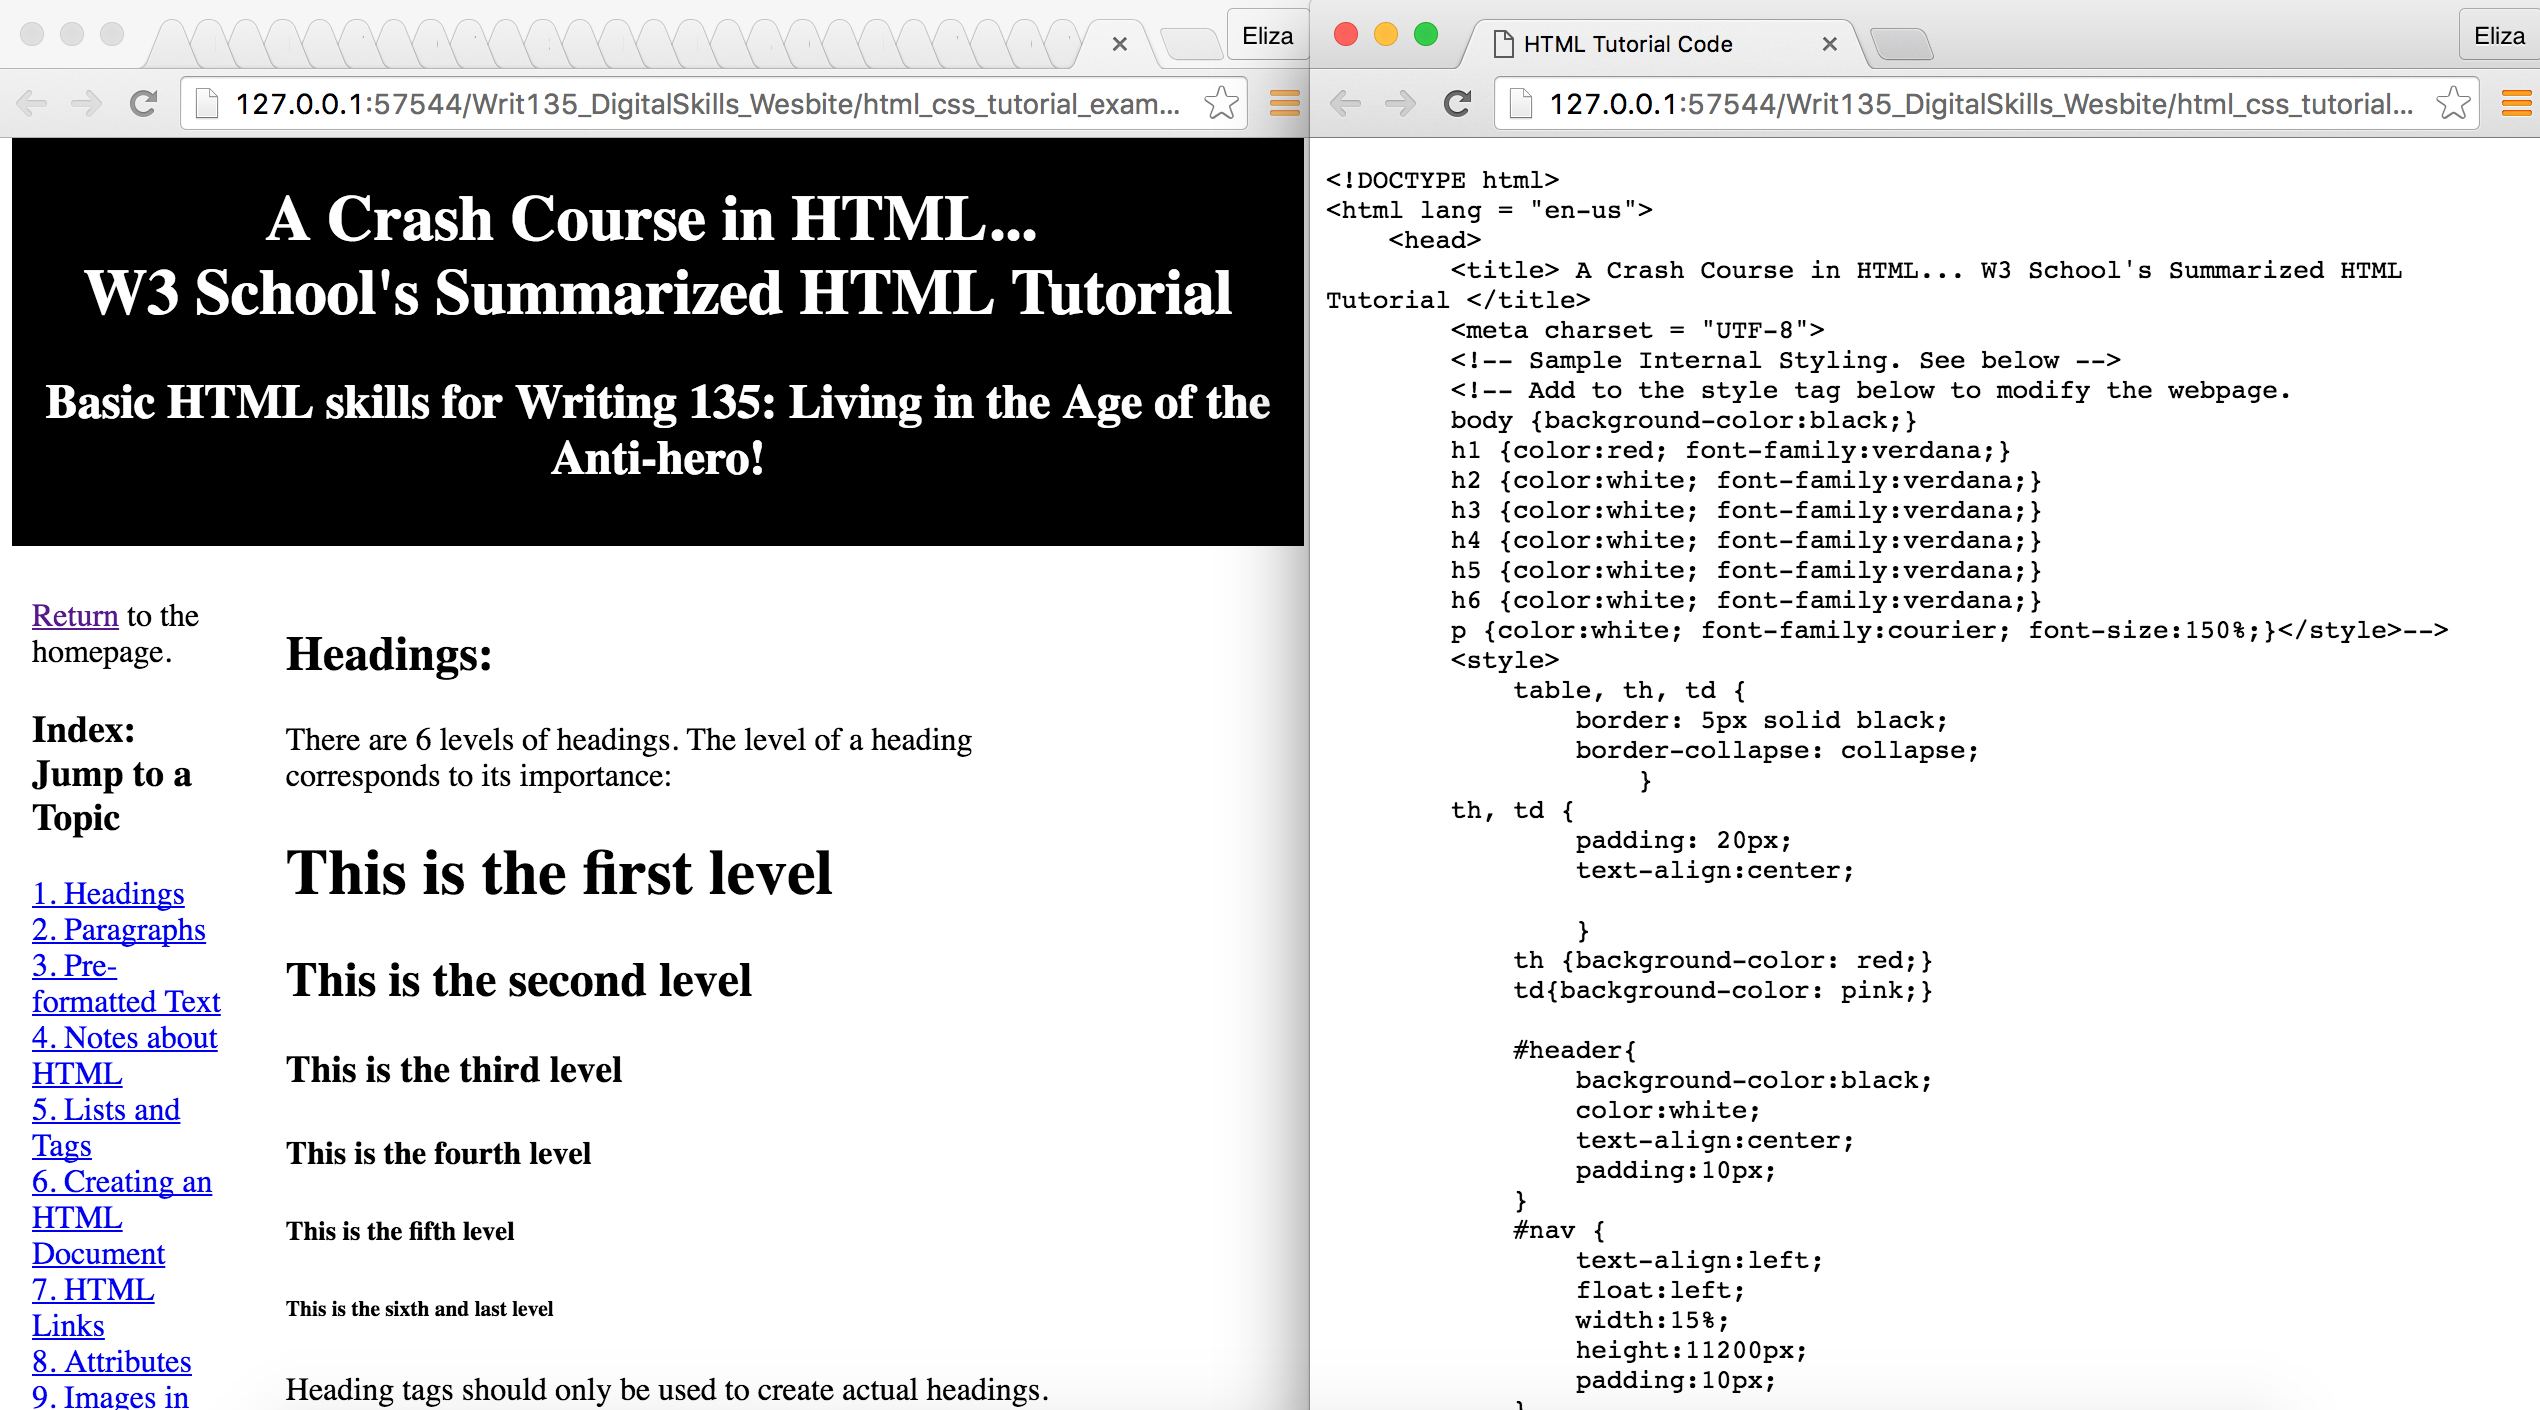
The HTML tutorial I created for this class introduces a few of the many CSS topics introduced in the W3Schools tutorial by using them to create a website which demonstrates each skill. In the last two weeks, you used the tutorial to learn or review basic HTML; now, you can revisit the three sections more specific to CSS to see simple examples of CSS. These sections are Styles, Colors, and An Introduction to Applying CSS to HTML.
Click here to launch the tutorial, and here to launch the accompanying code.
For learning purposes, I'd recommend dragging one of the tabs into a new window after launching both the tutorial and the tutorial code, then adjusting the width of the screens so that you are viewing them side by side like this:
Validating your CSS:
Never forget to validate your CSS document. It's important to check your code for errors.
Assignment: Add CSS to your HTML Blog Posts
For this assignment, you will use your new CSS skills to either modify template stylesheets or create new stylesheets for your HTML blog posts. Attach for each blog post that you have written for class so far. From this point forward, you will ALWAYS be responsible for adding style to your new HTML blog post documents.
Whether you choose to experiment with different CSS layouts now, keep in mind that you are working towards a cohesive digital portfolio; establishing a "usual" layout for your posts, then varying images, colors, quotations, etc. may be preferable to disparate weekly designs. If you want to create CSS layouts that are each distinct, but better suited for the content or book featured in your blog post, though, feel free to experiment. Ultimately, you will build a digital portfolio of entirely your own content and design. Let you work reflect your creativity - just keep cohesion in mind as you design and finalize.
Below are four examples of CSS styling applied to the same blog post. There are two underlying layouts, and two examples of each layout. Also linked to this page are the CSS documents that accompany the HTML documents - can you identify places where you can add variety? Look for opportunities to change the color, alignment, opacity, font-family, etc. if you choose to use one of these templates. If you don't want to work directly from a template, use your knowledge of CSS (and your reference sheets!) to make changes or to write your own stylesheets. Remember, you can add styling to <div> elements (especially for orienting sections of content on the screen), to types of elements(p, h1, h2, etc.), to classes (class="...."), and to IDs (id="....."). Be creative!
| Description: | Blog Post: | CSS Template: |
|---|---|---|
| "Color Block" Layout, Example 1 | First Blog Sample, Never Let Me Go | See the CSS |
| "Color Block" Layout, Example 2 | Second Blog Sample, Never Let Me Go | See the CSS |
| "Photo Background" Layout, Example 1 | Third Blog Sample, Never Let Me Go | See the CSS |
| "Photo Background" Layout, Example 2 | Fourth Blog Sample, Never Let Me Go | See the CSS |
| Comic Book Layout | Fifth Blog Sample, The Dark Knight | See the CSS |
Follow these INSTRUCTIONS to add CSS to your blog posts, add them to the "writ135" folder in your CS server account, and access them using links in your "index.html" document:
- Open Brackets on your computer, then explore the example websites and the CSS templates. If you want to work from either template, copy the CSS from a template and into Bracketts and save the document into your "writ135" folder. Save the file so that it's name corresponds to the blog post you will apply it to, and check that it has a .css ending (Example: batman_blog.html and batman_blog.css).
- Uncomment the <link> tag from the top of the HTML document, then set the name of your CSS document as the value of the attribute 'href'. For example, this document imports a stylesheet called 'css.css' like this: <link rel="stylesheet" href="css.css">
- Launch the Live Preview of your HTML document and see how the CSS affects it. Begin experimenting with the background, text (color, font-family, font-size, etc.), margins, float, and any other attribute as you develop your website. Make sure the Live Preview is updating as you edit the CSS, or save and refresh the window in Chrome frequently to make sure you are happy with your progress.
- If you want to reset the background image (you should!) or add images to your document, create a folder called "images" within your "writ135" folder on your computer. Save all the images you use to this folder, and make sure you keep a record both of the website the image came from and of the image's URL - next we'll discuss citing photos, copyright laws, and the public domain.
- Revisit this W3Schools website to see a collection of CSS websafe fonts (i.e. fonts that you are able to use automatically). If you want to expand your font choices, visit this link to Google's font resevoir. On the website, you'll be able to browse a variety of fonts that you can easily add to your website using another <link> tag in the <head> section of your document. To get the <link>, click the red circle with a plus sign in the top right had corner of each font square, then, when you've selected all the fonts you'd like, click on the black bar at the bottom and copy the <link> that appears. Once the CSS link has been added, you'll be able to use the fonts by setting them as the values of 'font-family' attributes in your CSS documents.
- Just like you validated your HTML, you'll also need to validate your CSS. Visit the link above to make sure that your stylesheets are error free.
- Repeat this process as many times as necessary to stylize each HTML blog post you have created so far.
- When all new blog post webpages have been given a unique style, upload your "writ135" folder to your server account using Cyberduck. Because a "writ135" folder already exists, you can either delete the old folder and upload the entirely of your updated "writ135" folder, or open the folder, delete its contents, then add all the new/updated docuemnts to the server.
- When all content has been uploaded, visit cs.wellesley.edu/~your_username to see you HTML online! When you've finished this step, send me an email!
Congratulations! You're done!