More About HTML:
Now that you know how to create and upload simple webpages, it's time to learn how you can make more complex and visually interesting websites. To do this, however, you'll need to know more HTML. This week's digital work lesson will include links to several tutorials that encourage you to practice different HTML skills that you'll use later on as backbone and buttressing for your webpages and blog posts. These skills will include:
- Headings
- Paragraphs
- Line Breaks
- Lists (both ordered/numbered and unordered, like this one!)
- Text Emphasis
- Links
- Images
- Tables
- and more!
The three HTML tutorials linked to this lesson cover some of the same material, but each presents the new skills differently. Before adding each tutorial to the website, I'll provide some information about how each works.
Assignment: Study and Practice HTML
Although the latter two tutorials are optional, you should definitely complete the first Khan Academy tutorial. This tutorial will introduce all the topics listed above, and shouldn't take more than an hour and a half. If you want more HTML practice, I recommend that explore either the W3Schools tutorial or my summarized verstion of the tutorial (accompanied by this code). This assignment will be spread across two weeks instead of one.
In addition to this assignment, you'll find two other tasks within the tutorial: the first task is to review your first HTML page and add new elements, and the second task will be to create new HTML pages for your blog posts from a template provided.
Jump to a Tutorial:
If you'd like to navigate directly to one of the tutorial descriptions on the website, click any of the following links: Khan Academy, W3Schools, and My Summarized W3Schools Tutorial.
Khan Academy HTML:
This Khan Academy tutorial is a great place to start learning HTML because not only does it introduce several basic HTML skills, it also has great introductory information about the web, servers, browsers, clients, and websites themselves! Below is the a video from the tutorial that introduces these topics - click on the video to play or pause.
Welcome to the web!The Khan Academy tutorial includes videos that demonstrate new HTML skills while a speaker in the background describes each step. They are followed with pages of useful information and "Challenges" that ask the user to test their understanding. At the bottom of each lesson, there are sections for "Questions", "Tips and Thanks", "Spin Offs", and "Documentation" that provide further information about the HTML lessons. The tutorial is fairly short, and shouldn't take more than an hour and a half at most.
Click here to launch the tutorial!
Assignment: Check your Understanding with your First HTML Page!
When you've finished this first practice, check your understanding by revisiting the first HTML page you made and reviewing the code. Do you understand what each tag does?
Now try adding an image, a list, and a link to you first HTML page. When your HTML page works correctly, move on to another tutorial.
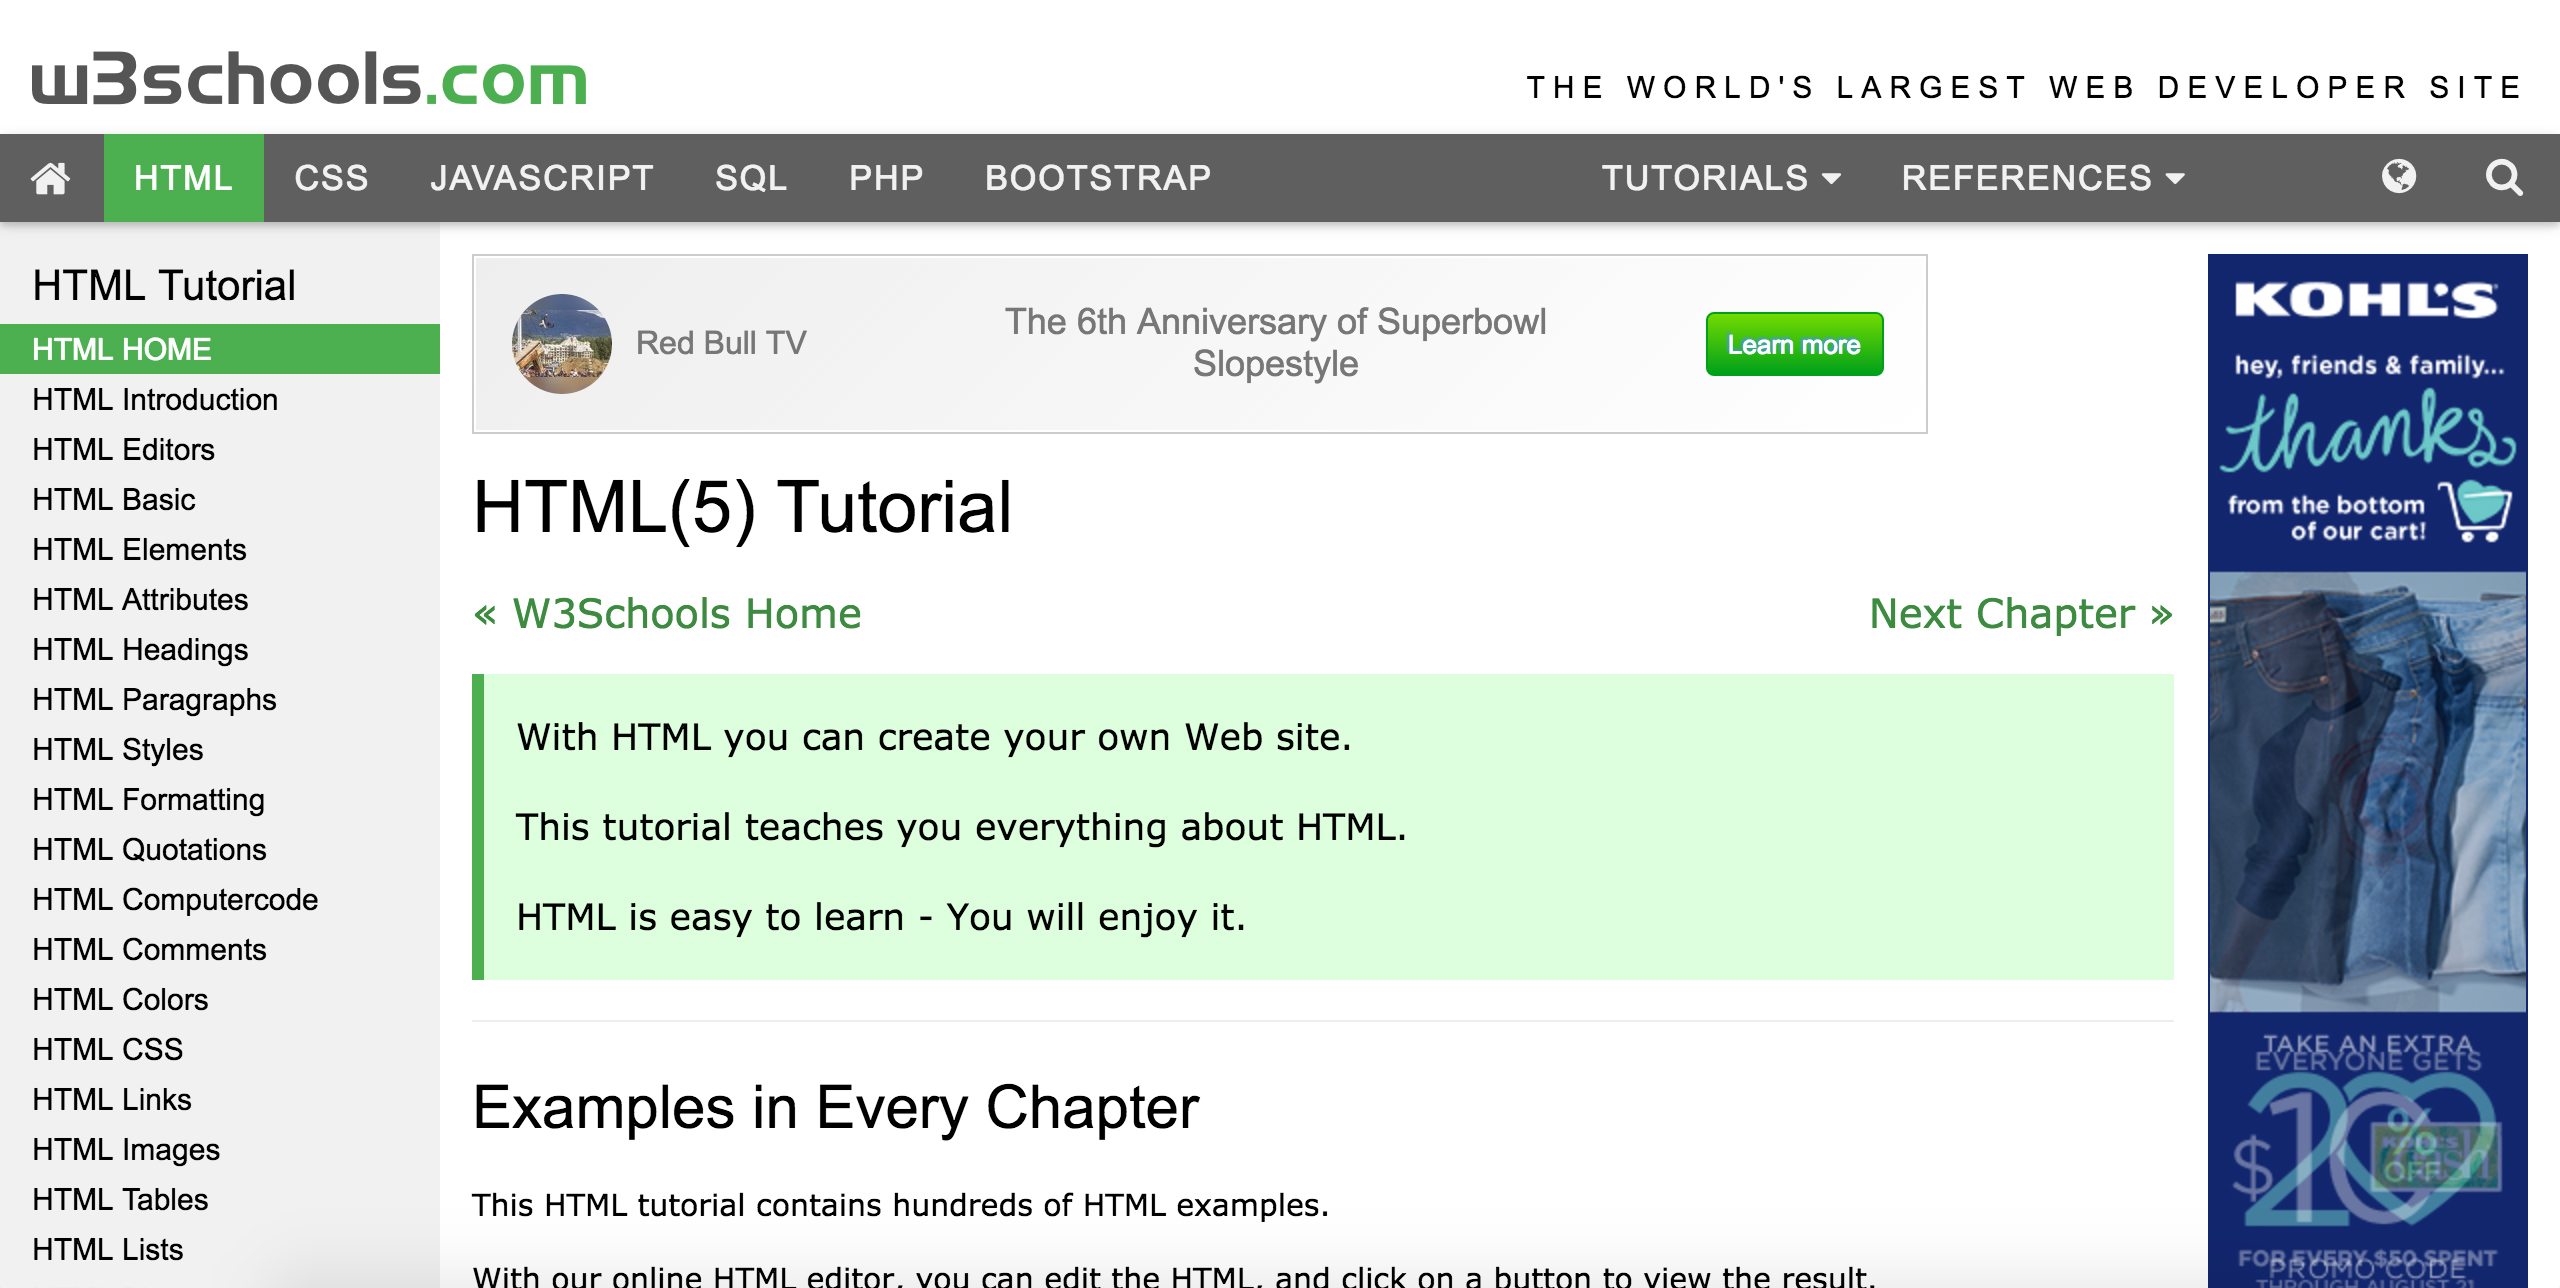
W3Schools HTML:
Another online resource for learning HTML is the W3Schools tutorial. W3Schools is a website dedicated towards teaching skills for web development. It contains tutorials in HTML, CSS, JavaScript, and more. The W3Schools HTML tutorial is broken up by topics that can be easily navigated through an index on the left side of the screen. The lessons themselves are broken up with alternating chunks of formatted information and "Try It Yourself" examples that launch in a new tab on your browser. At the bottom of each lesson, there is a list summary of "HTML Computer Code Elements".
This tutorial contains a wealth of information, introducing more topics than the Khan Academy tutorial does. It also takes longer - to complete this tutorial, I'd recommend you budget between 2 and 4 hours if you choose to complete this tutorial, depending on your working pace. Although it does take more time, it's very helpful to launch each "Try It Yourself" example and practice the new HTML skills you learn. Reading about HTML is helpful, but practice is key for improving your understanding.
You many choose to treat W3School's tutorial as a reference sheet for HTML - if you have questions and want information about a particular skill or topic, you can either search the website or find the corresponding link on the navigation pane.
Click here to launch the tutorial!
To visit any of the W3Schools' tutorial examples without navigating through individual lessons, visit this website.
A Crash Course in HTML... W3Schools' Summarized HTML Tutorial:
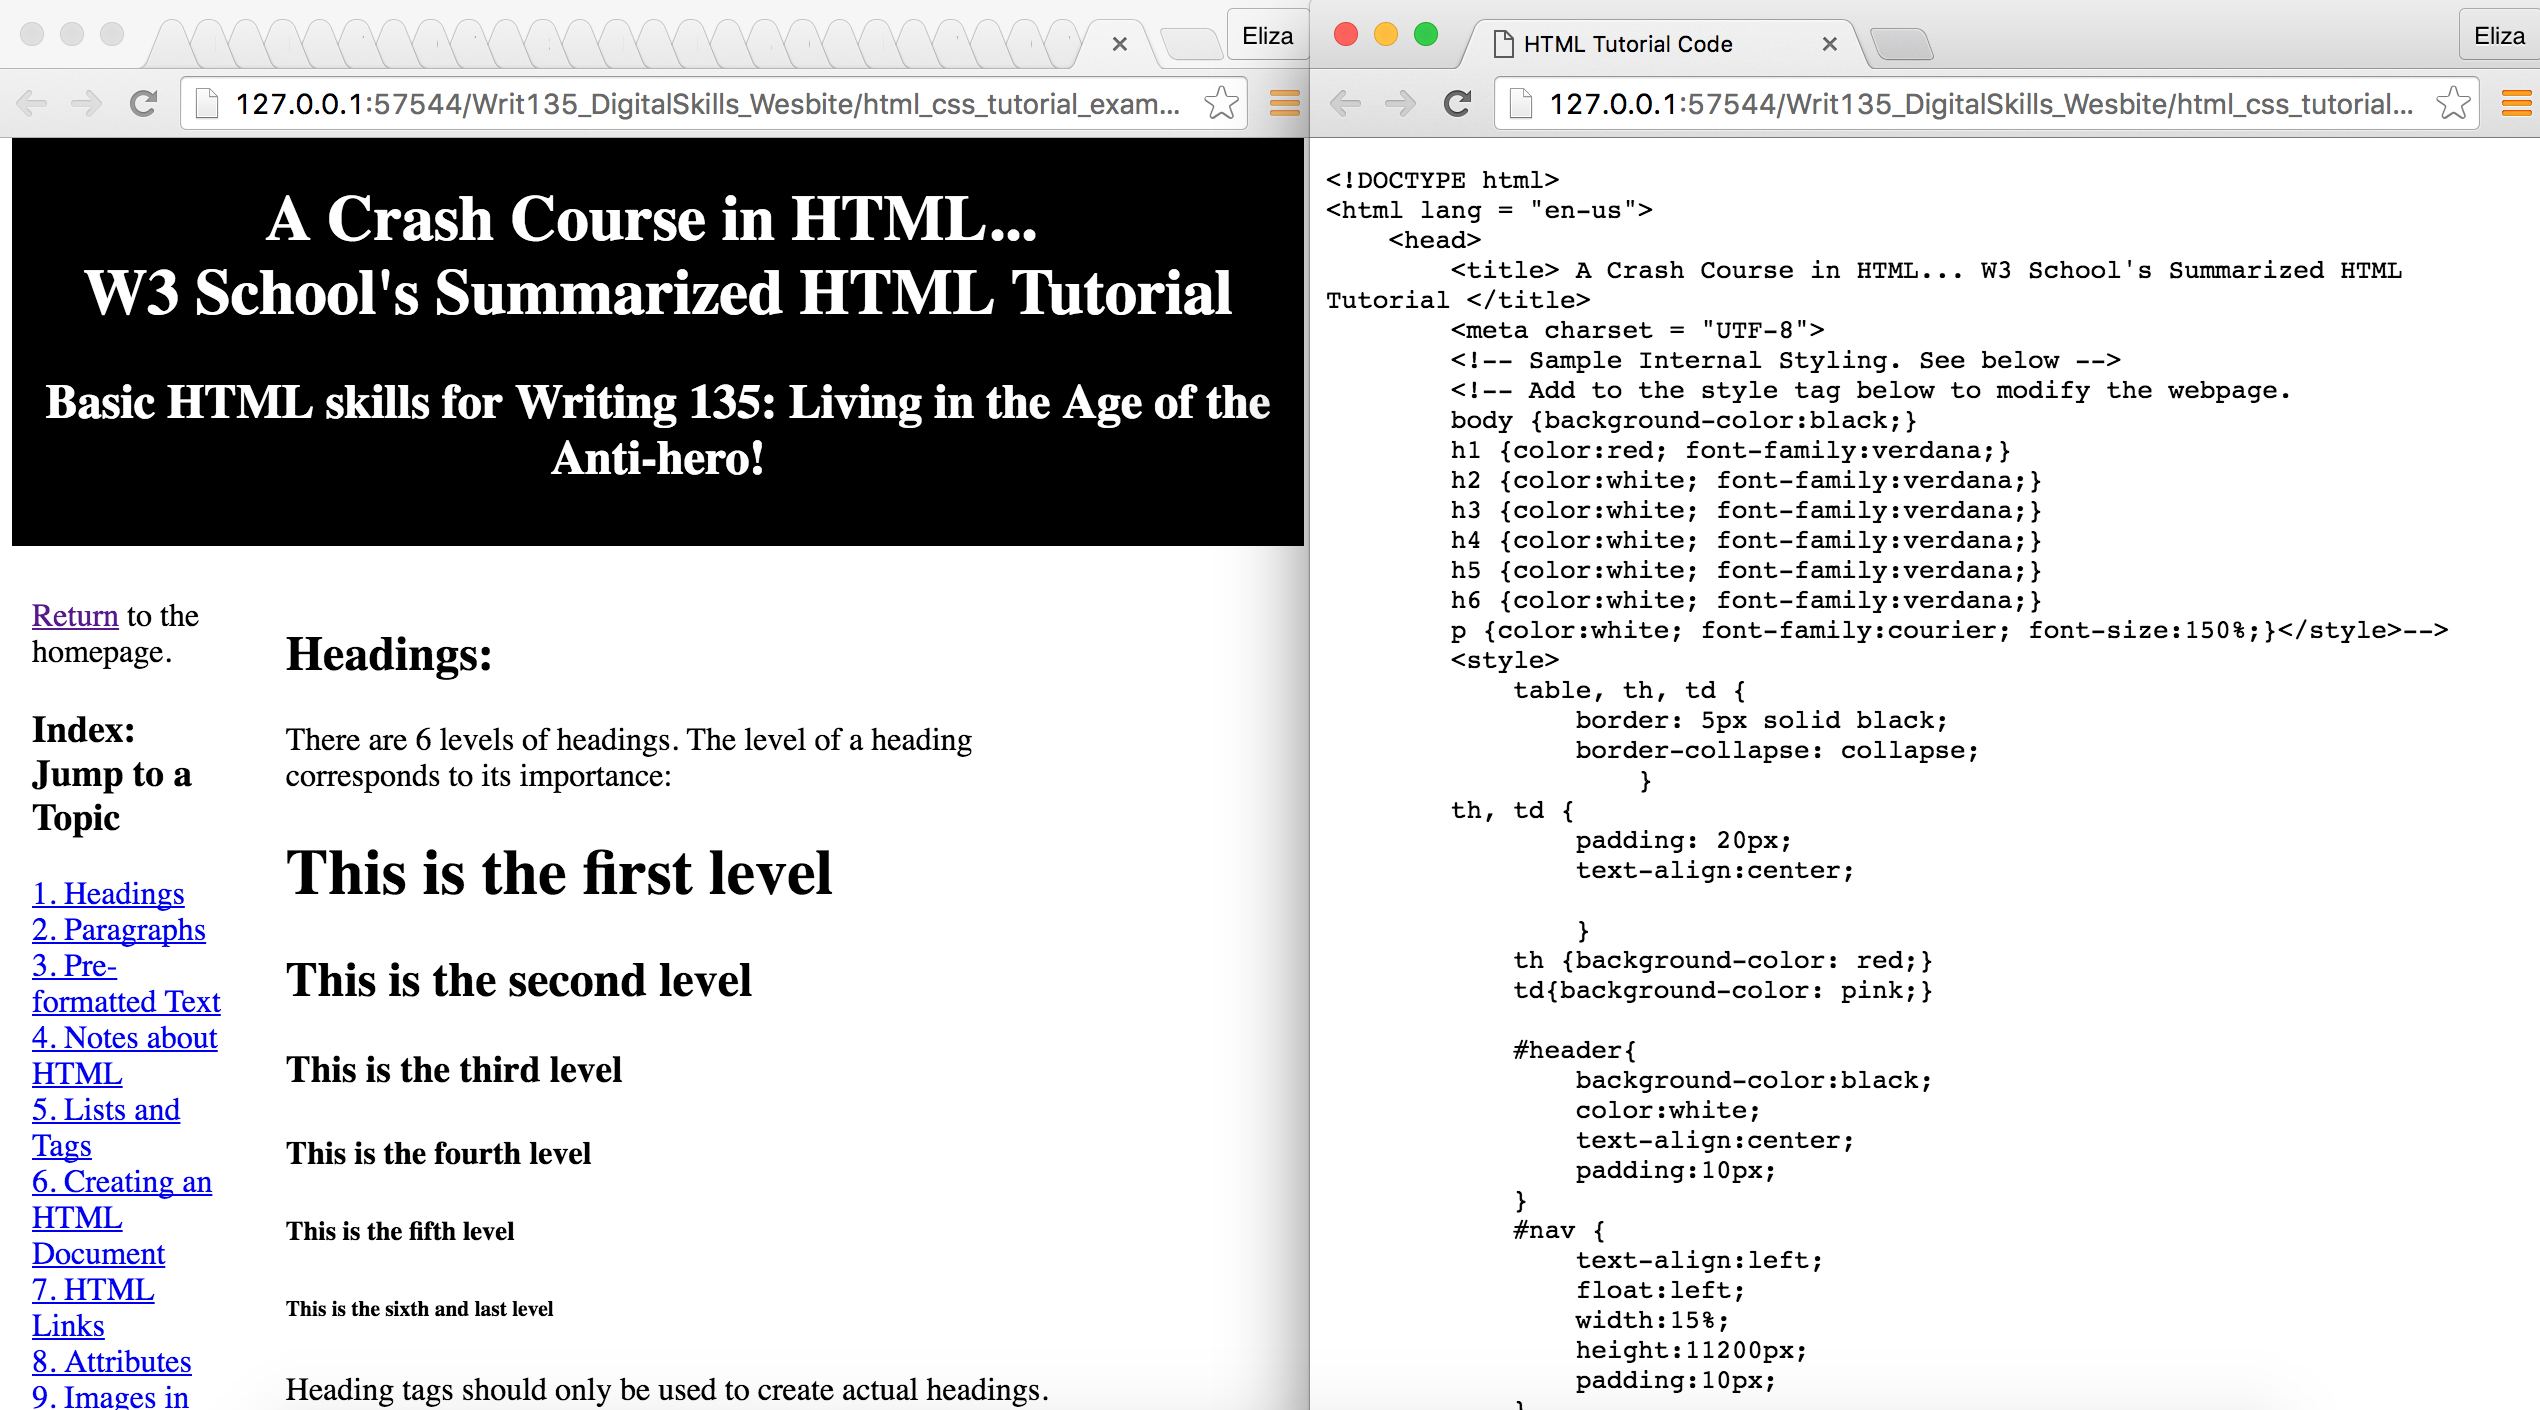
The HTML tutorial I created for this class summarizes many of the topics introduced in the W3Schools tutorial by using them to create a website which demonstrates each skill. As you progress in Writing 135, you'll be challenged to create unique blog posts using your newly acquired HTML and CSS skills. This tutorial is meant to supplement your understanding by presenting a two-prong reference sheet: a working HTML website and the accompanying code. To use this tutorial, you should open the website in one tab and the accompanying code in the another. You can scroll through the tutorial website (or jump to a specific topic using the navigation pane on the left) to see how the different HTML elements can be used together and how they will look on a website, then check the tutorial code to see how each element was added.
Click here to launch the tutorial, and here to launch the accompanying code.
A FEW NOTES:
- If you open the "Page Source" of the tutorial code, then you'll notice the sequences < or >. These are character entities, or sequences of characters used to represent reserved characters, in this case the < and > signs, in an HTML document.
- These two links, as well as all others on the website, will always open in a separate tab. This is done by including the attribute 'target' in the <a> tag, along with the 'href' attribute'. The value of the 'target' attribute should be '_blank' to open the link in a new tab, so the attribute name/value combination will look like this: target="_blank".
- For learning purposes, I'd recommend dragging one of the tabs into a new window after launching both the tutorial and the tutorial code, then adjusting the width of the screens so that you are viewing them side by side like this:
A few of the topics included in the tutorial are closer aligned with next week's tutorial, Learning CSS. These sections: Styles, Colors, and An Introduction to Applying CSS to HTML can be skimmed for now, then studied more carefully next week.
Validating your HTML:
Never forget to validate your HTML document. It's important to check your code for errors.
Assignment: Make your Blog Posts into HTML Documents
For this assignment, you will use your knowledge of HTML to create a webpage for each blog post that you have written for class so far. From this point forward, you will always be responsible for creating an HTML document for each new blog post.
A basic, HTML blog post template is provided here for you to use to complete the assignment. If you would rather write the HTML by yourself, you're welcome to treat the template as a reference instead. Click here to see what the website created with the template will look like initially.
Here is another template that includes more types of HTML tags like <div>. If you want to try working with <div>, feel free to work in this template.
Follow these INSTRUCTIONS to create each new webpage, add them to the "writ135" folder in your CS server account, and access them using links in your "index.html" document:
- Open Brackets on your computer, then click on the link to the HTML blog template. Copy the code from the website (not including the title at the top of the screen) into Brackets and save the document into your "writ135" folder.
- Modify the HTML using your own information and the content of your blog post. Make sure the title of the HTML document, as well as the name it is saved under, correspond with the book or topic you are writing about.
- Use Live Preview as you develop your website to keep track of your progress. Experiment with the order of the <div> elements as described in the template. When you are finished editing, validate your code (see above).
- When your code has been validated and you are entirely done, open your "index.html" file in Brackets and create a link to the new blog post. Add a heading, create a list using <ul> or <ol> tags, and use <a> tags to add the link. Now, check that the link on your "index.html" document will open your blog post, and that the link back to the "homepage" on your blog post will take you back to "index.html".
- Repeat as many times as necessary to create one new webpage/HTML document for each blog post you have written so far.
- When all new blog post webpages have been created and your "index.html" has been updated to reflect your progress, upload them to the "writ135" folder on your server account using Cyberduck. Because a "writ135" folder already exists, you can drag the new versions of the HTML files to the server and replace the existing ones. When you drag and drop the updated files into Cyberduck, you'll be prompted by the application to overwrite the old version of the file with the newer version - press 'Continue', and your files will be updated on the server. You'll also be able to tell the old and current versions of your files apart by looking at the timestamps in the local machine and the server.
- When all content has been uploaded, visit cs.wellesley.edu/~your_username to see you HTML online!
Congratulations! You're done!